
When you connect your VTEX store to Hellotext with our Exchange app, you can:
- Sync customer data into customer profiles so Hellotext can use it for segmentation, messaging, playbooks, and reporting.
- Install the Hellotext pixel to track customer activity on your website and turn that activity into signals for attribution, recommendations, playbooks, campaigns, and ROI measurement.
What you’ll need
- A Hellotext account.
- API Base URI (for example:
https://hellotext.myvtex.com/orhellotext) - A VTEX account
- A VTEX application key and application token
Setup Authentication
VTEX application keys
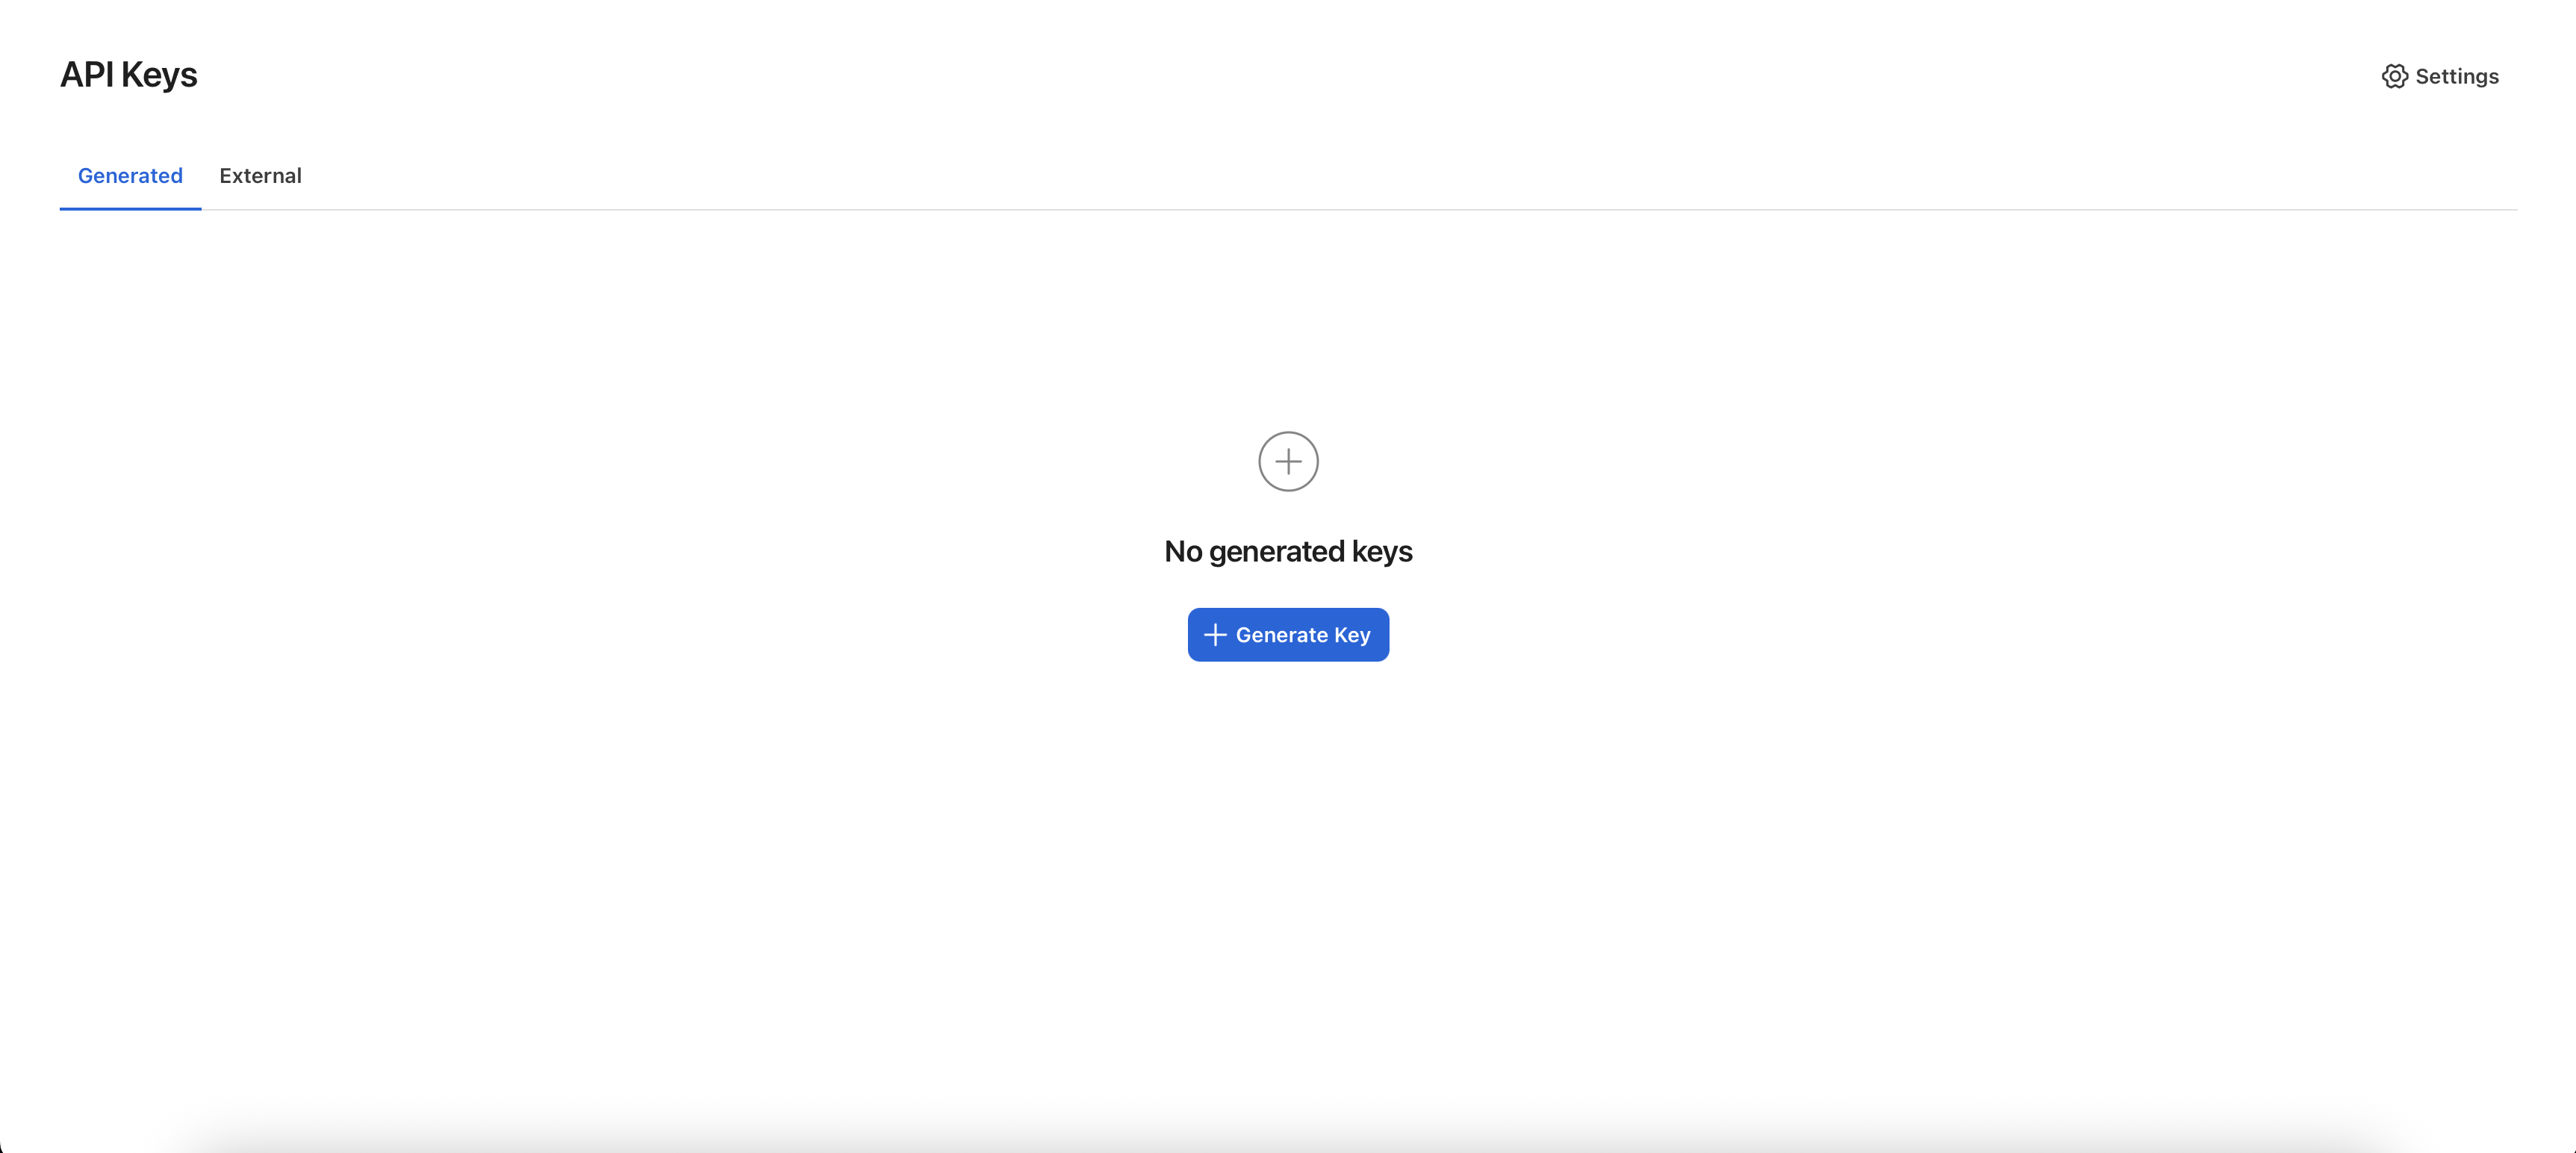
The My Keys page in VTEX lists all of the internal app keys. To access this page, go to Account Settings > and click on API Keys, then click on Generate Key.
Generate a new application key
Application keys allow the external system to access your account, so your VTEX account must have this role: License Manager / Services access control / Save user.
- Click the Generate New button.
- In the Label field, enter the application key’s purpose. It will help you identify the Hellotext key easily if you have other internal API keys.
- Add Roles by clicking on it, which grants admin privilege to the API key.
- Click on Generate.
- You will see a link generated for the token. Copy the URL and paste it into your browser to obtain the key and the application token.
- Copy the Key and the Application Token and save them in a safe place. They are only shown once.
Add the credentials to Hellotext
- Log in to Hellotext and go to the business account you want to integrate the VTEX store into.
- Go to Settings > Integrations and click on New Integration.
- Choose VTEX in the list of available integrations.
Follow the wizard to set up your account. Make sure you copy and paste the App Key and App Token.
Domain Setup
In this step. You will be asked to choose the primary storefront domain for your application when you have many connected domains connected to your VTEX account. Make sure you choose the exact domain your catalog is hosted on.
Based on the domain you chose, Hellotext will construct Product and SKU urls for the AI Agents.
Pixel Installation
In this step, you are asked to install the Hellotext pixel on your VTEX account. Installing the pixel unlocks insight into what your customers do on the website, including:
- Page Views
- Product Views
- Cart Modifications (additions or removals)
- Order Placement
Checkout Funnel Tracking
The Hellotext pixel tracks activity on the storefront but cannot run inside VTEX’s checkout module, which is a separate application. To capture shopper identity during checkout (email, phone, name) and enable abandoned checkout attribution, add the Hellotext checkout script to your store.
- Go to your admin dashboard on VTEX. i.e.
shop.myvtex.com/admin. Replaceshopwith your VTEX account name. - On the left side, scroll down to Store Settings > Checkout > click on Settings.
- On the settings page for Checkout, click the gear icon on the site configuration you want to edit.
- Click on the Code tab at the top of the page.
- In the file list, select checkout6-custom.js.
- Paste the following code at the end of the file:
// Hellotext Checkout Funnel
(function () {
  var script = document.createElement("script");
  script.src =
    "https://cdn.jsdelivr.net/npm/@hellotext/vtex-checkout@1/dist/funnel.js";
  script.onload = function () {
    Hellotext.initialize("YOUR_BUSINESS_ID");
  };
  document.head.appendChild(script);
})();
- Replace
YOUR_BUSINESS_IDwith your Hellotext business ID, which you can find in Settings > Business on your Hellotext dashboard.
Click Save.
Once saved, Hellotext will identify shoppers as soon as they enter their email or phone during checkout, even if they do not complete the purchase.
Fore more information. Checkout the source code of vtex-checkout.
Affiliate Setup
In this step. You are asked to setup Hellotext as an affiliate on your VTEX account. This helps Hellotext receive real-time notifications about changes to your catalog, including price change, inventory or products added and removed from the storefront to help keep recommendations accurate and up-to date.
- Go to your admin dashboard on VTEX. i.e.
shop.myvtex.com/admin. Replaceshopwith your VTEX account name. - On the left side, scroll down to Store Settings > Orders > click on Settings.
- On the settings page for Orders, next to General tab, click on Affiliates
- Click on New Affiliate button on the top-right of the page.
Fill in the Affiliate form with the following information
- Name: Hellotext
- ID: Any identifier of your own choosing. VTEX limits identifiers to 3 characters. This helps you quickly identify Hellotext if you have many Affiliates.
- Sales Channel: Choose the sales channel which you want Hellotext to receive notifications from. Type
1which is your primary Sales channel. - Note: If you have catalogs on multiple sales channels, you need to repeat this process for all the active sales channels your catalog is on.
- Email: Type in support@hellotext.com.
- Search Endpoint: This will be revelaed to you on the Setup Wizard.
Once completed. Click on Save.
For more information view an affiliate setup on VTEX.