
Integrating your product catalog with WhatsApp lets you turn the chat into a fully functional sales channel. Once connected, your customers will be able to discover your products directly inside WhatsApp, add items to their cart without leaving the conversation, and complete the checkout right inside the chat using your store’s checkout flow (Shopify, VTEX, WooCommerce, Wix, etc.). Every purchase will generate a real order in your eCommerce platform, just as if the customer had checked out through your website.
This smoother, faster, and frictionless experience usually translates into higher conversion rates and a much more comfortable buying process for your customers.
Prerequisites
Before connecting your catalog, there are two important things to keep in mind:
-
First, you must connect your eCommerce platform to Hellotext. This allows Hellotext to sync your products directly from your store. You can integrate Shopify, VTEX, WooCommerce, or Wix. If you haven’t done it yet, go to the Integrations section inside your Hellotext account and follow the corresponding guide.
-
If you already created a catalog previously for Hellotext, you can use it without any issue. But if you don’t have one yet, you’ll need to create a new catalog in Meta to use it with WhatsApp.
Here’s how to do it.
Step 1: Create a new catalog in Meta
If you don’t already have a catalog, this will be your first step. It’s very simple:
Go to your Meta Business Manager.
Make sure your business is selected in the left-hand sidebar.
In the left menu, go to Data Sources → Catalogs.
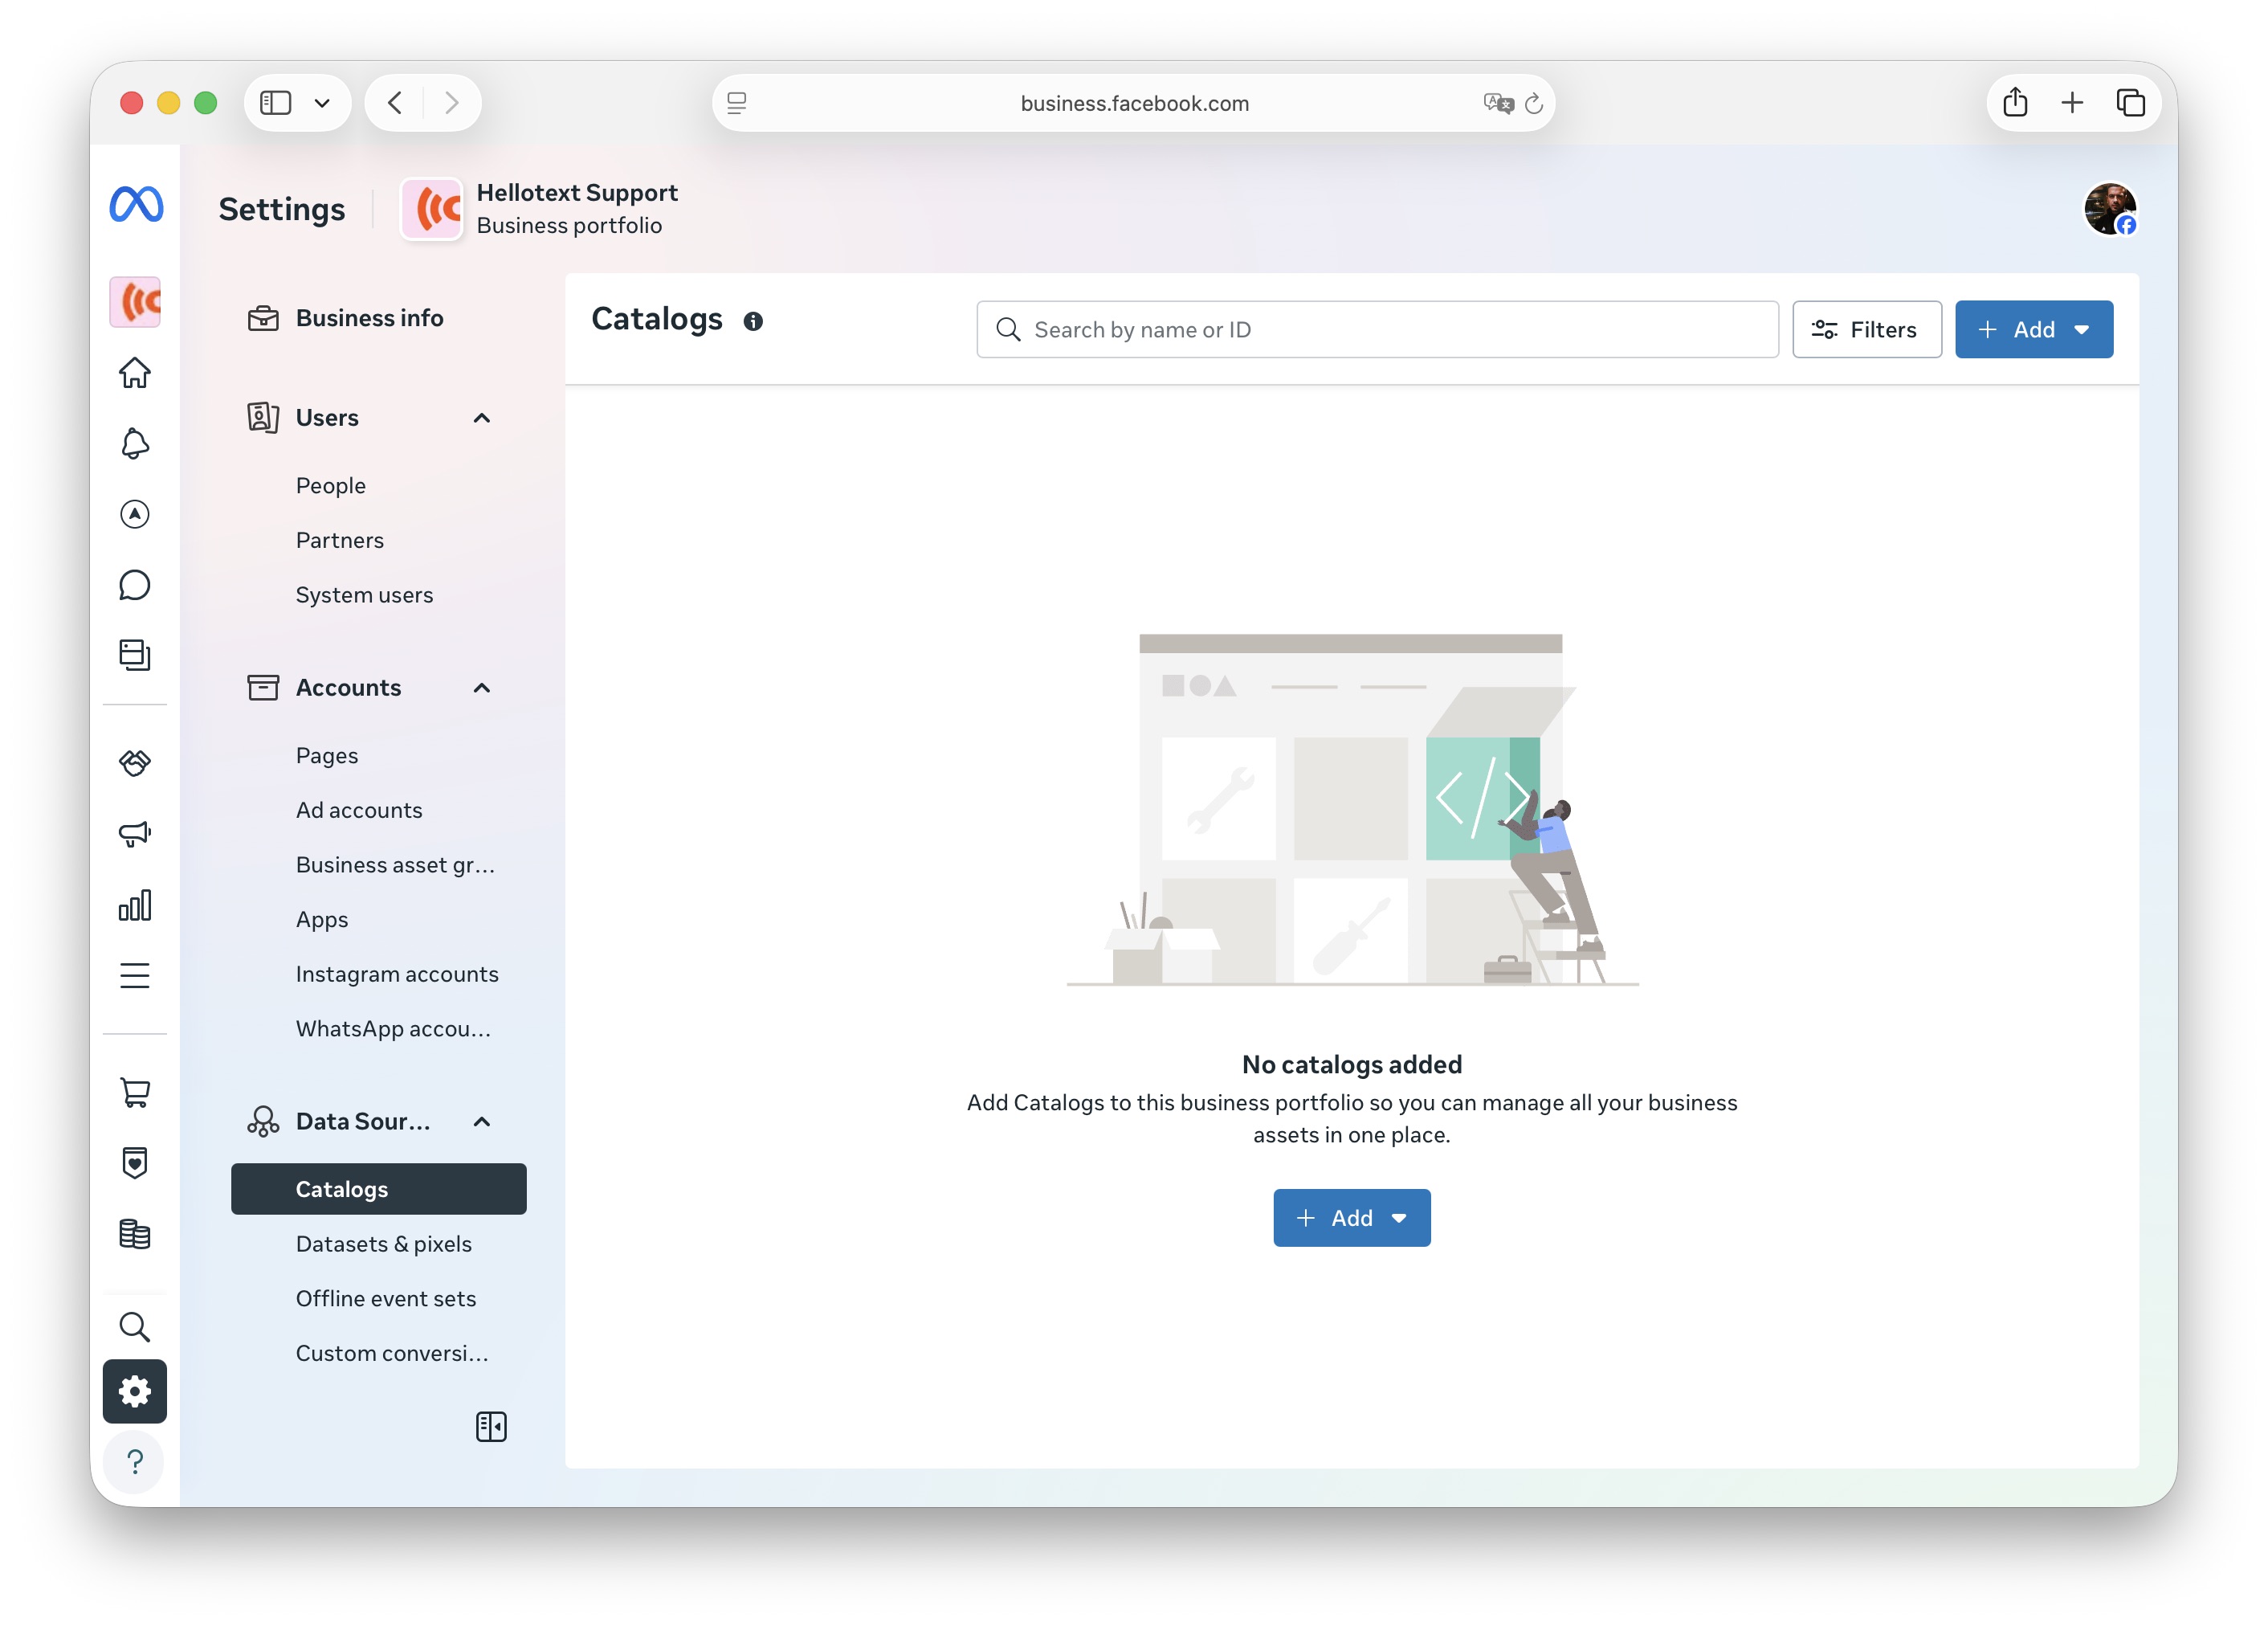
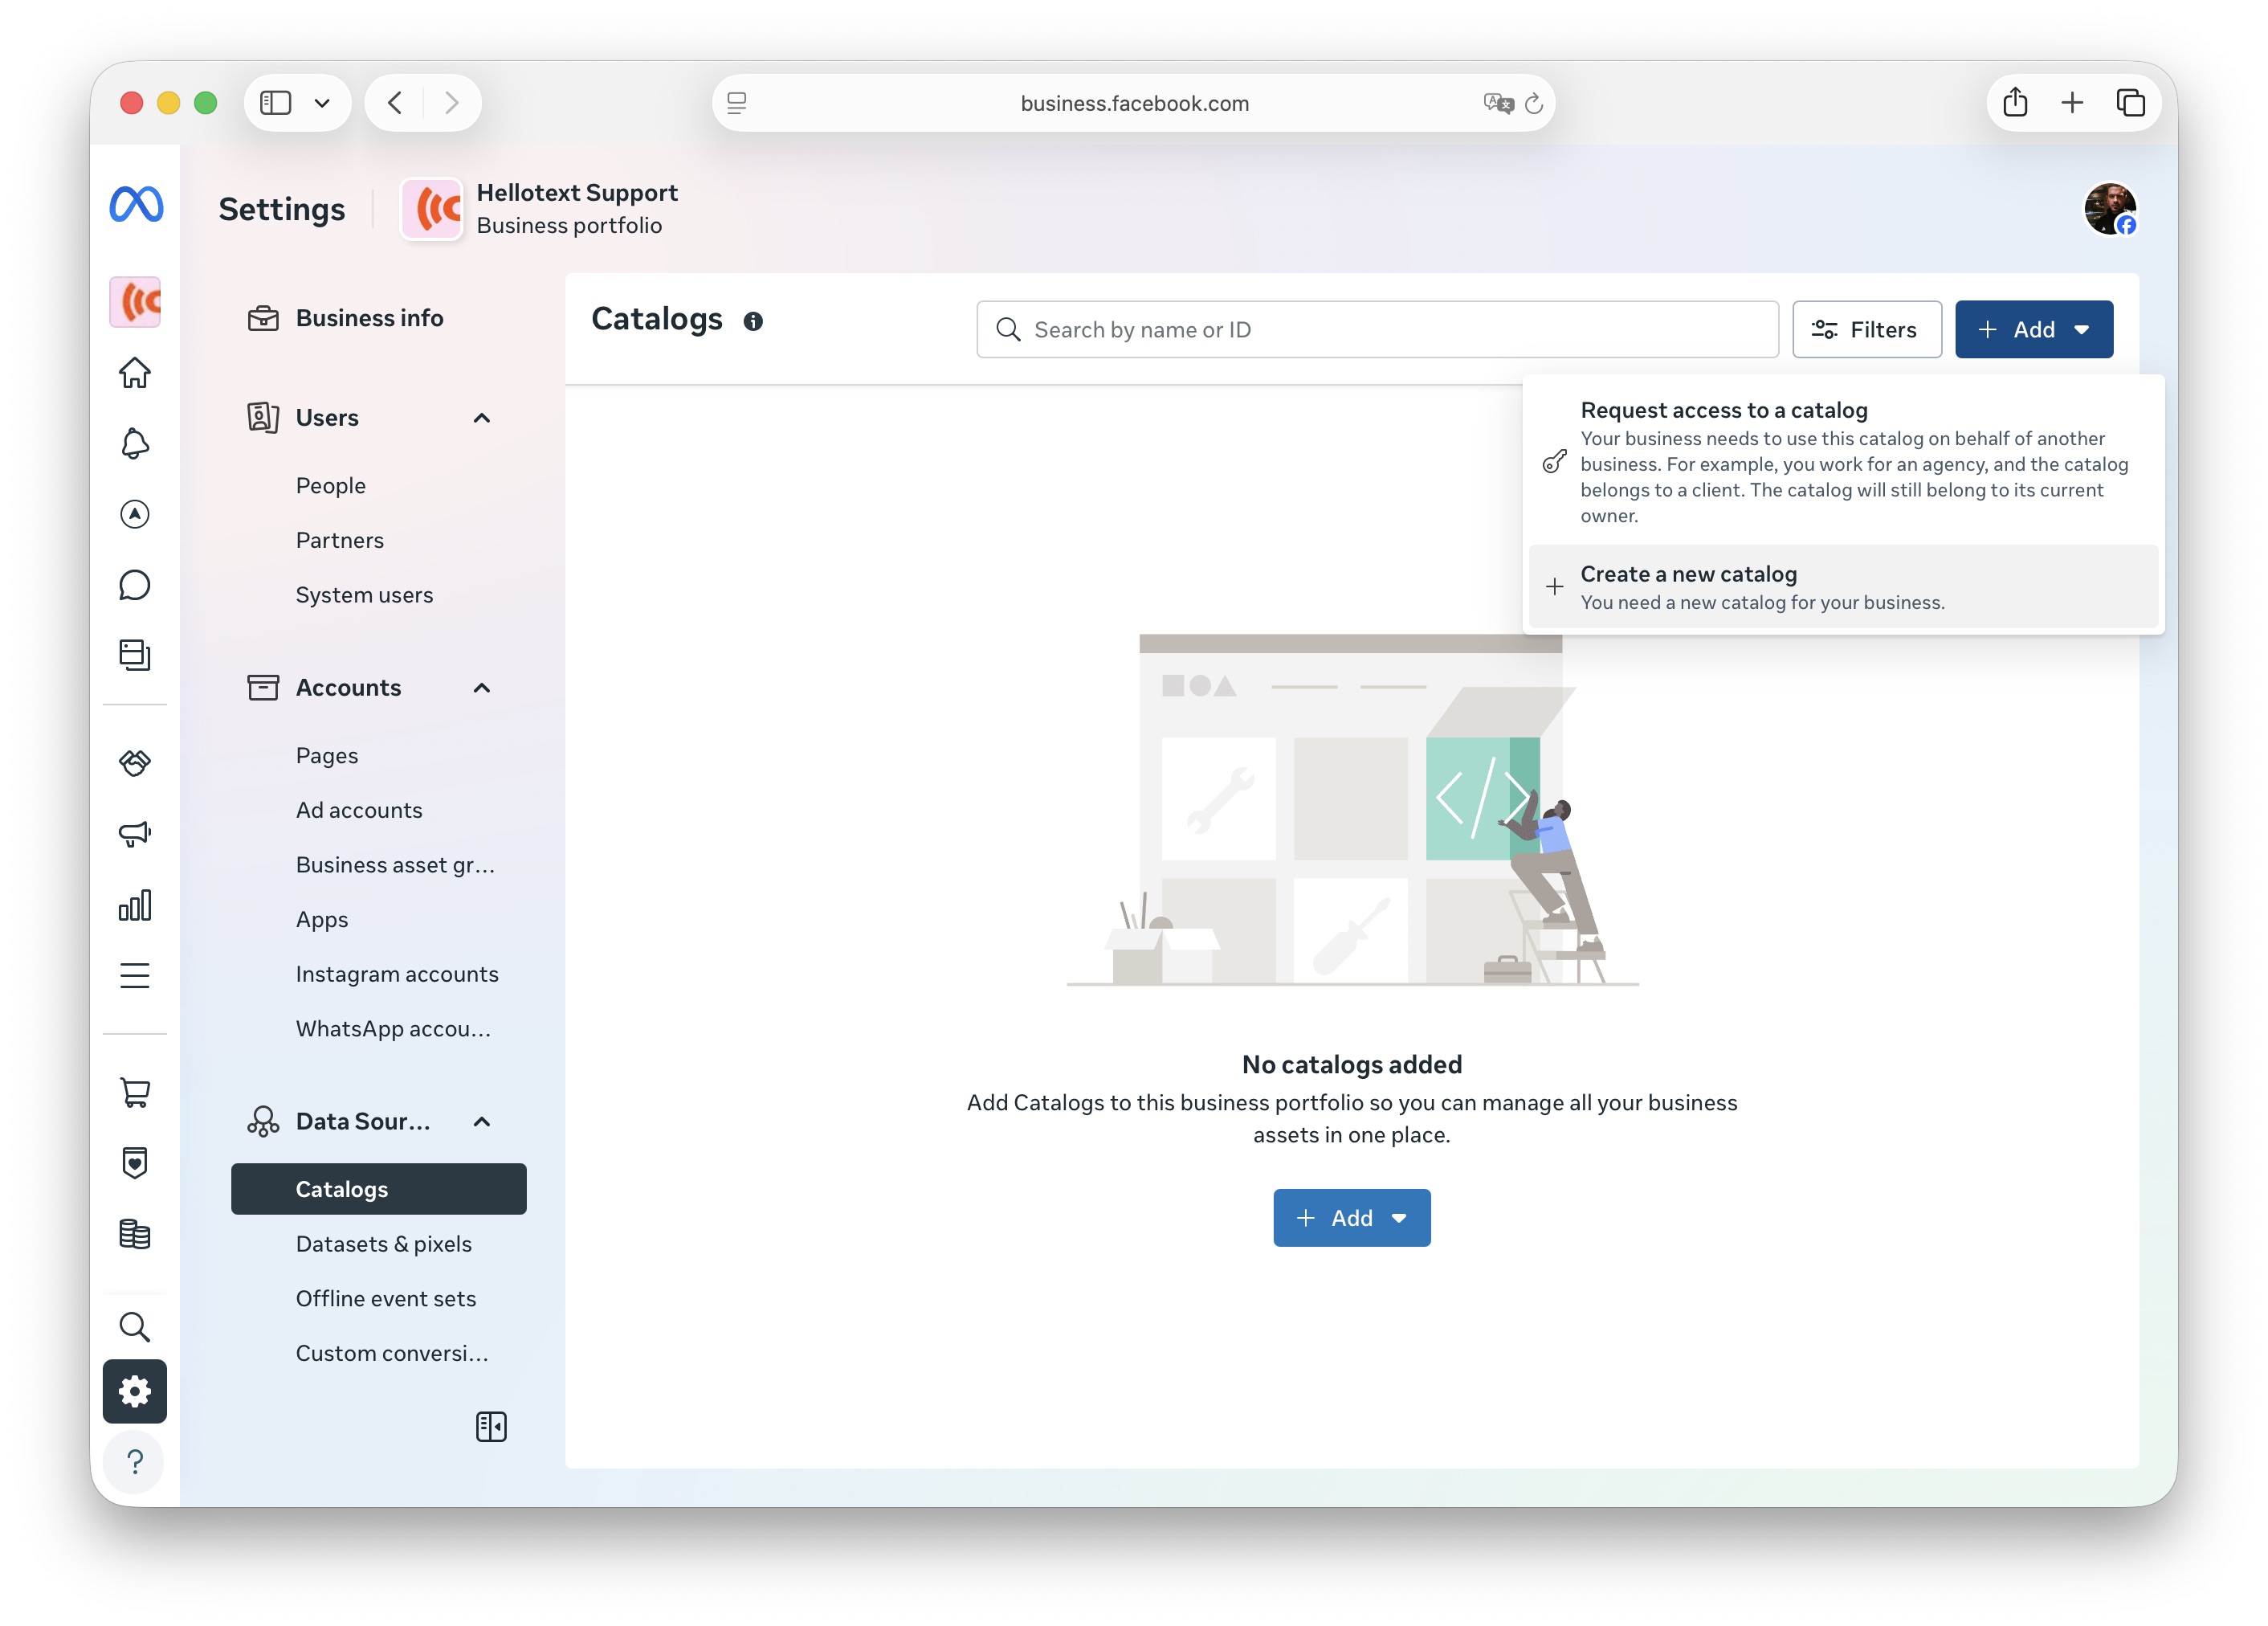
Click Add and select Create new catalog.
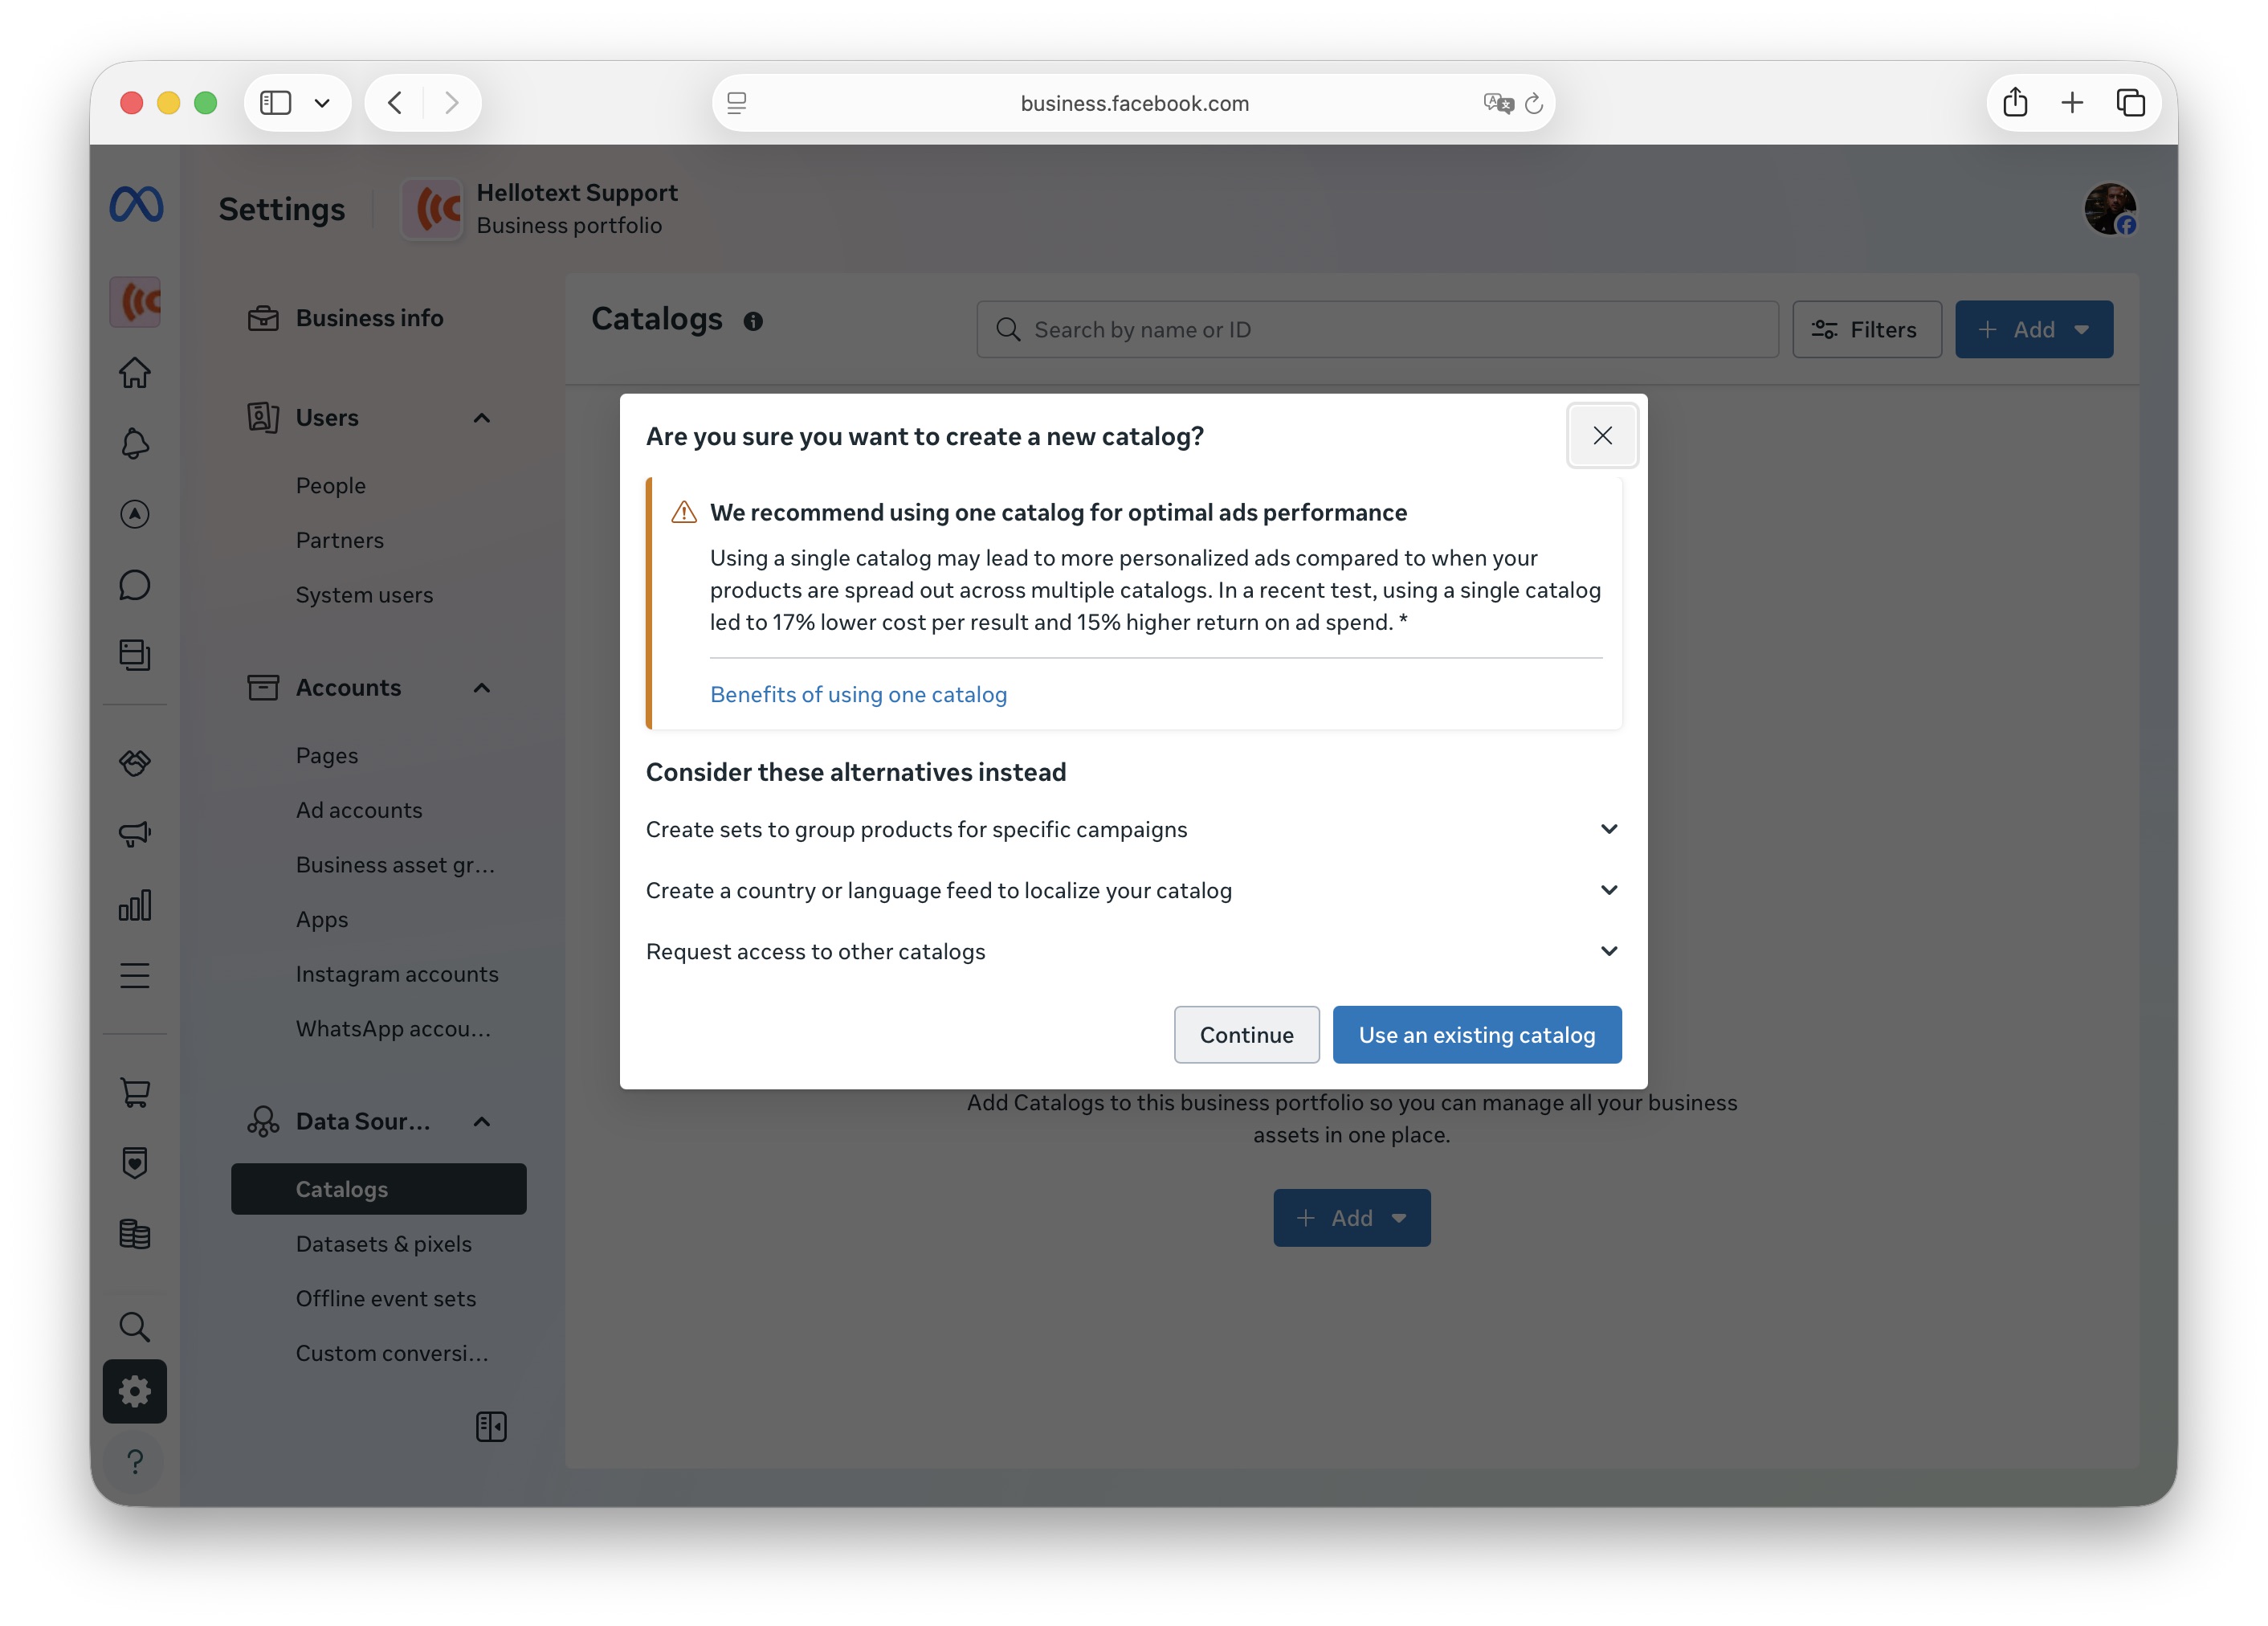
Meta will show a popup window. Select Continue, even if you already see other catalogs. We want to make sure a fresh new catalog is created.
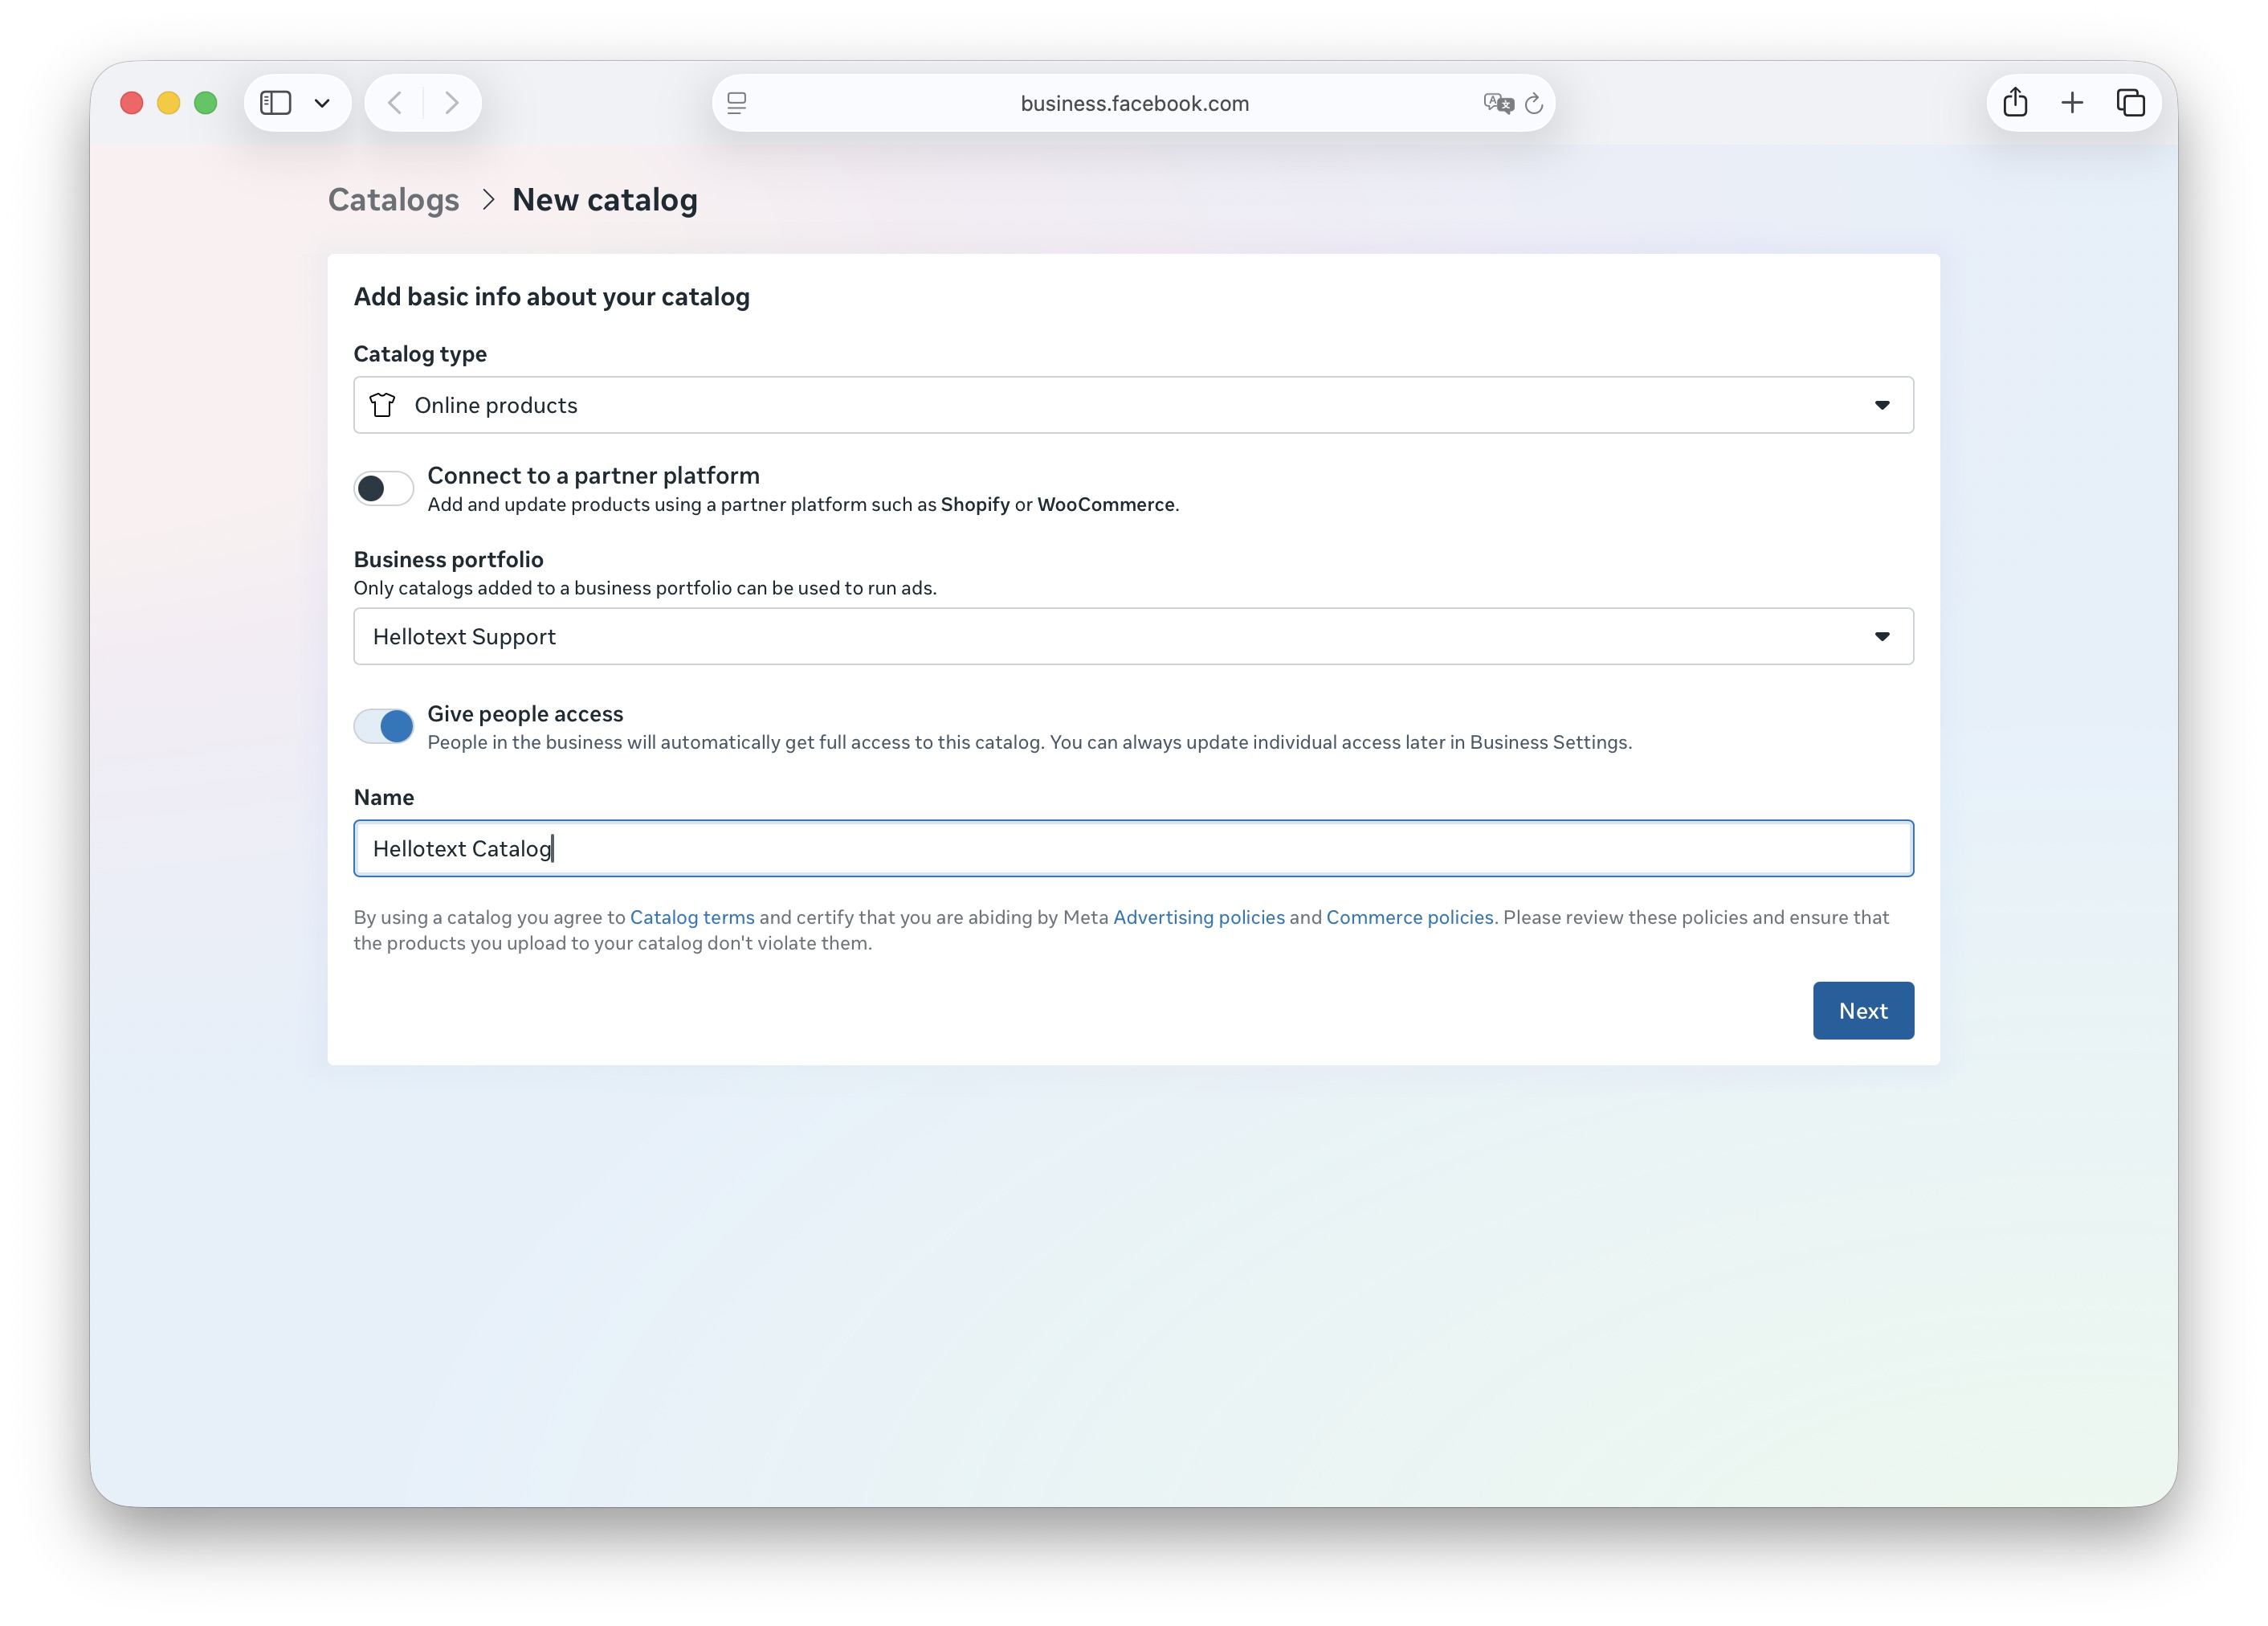
In the Name field, type Hellotext Catalog, leave everything else as is, and click Next.
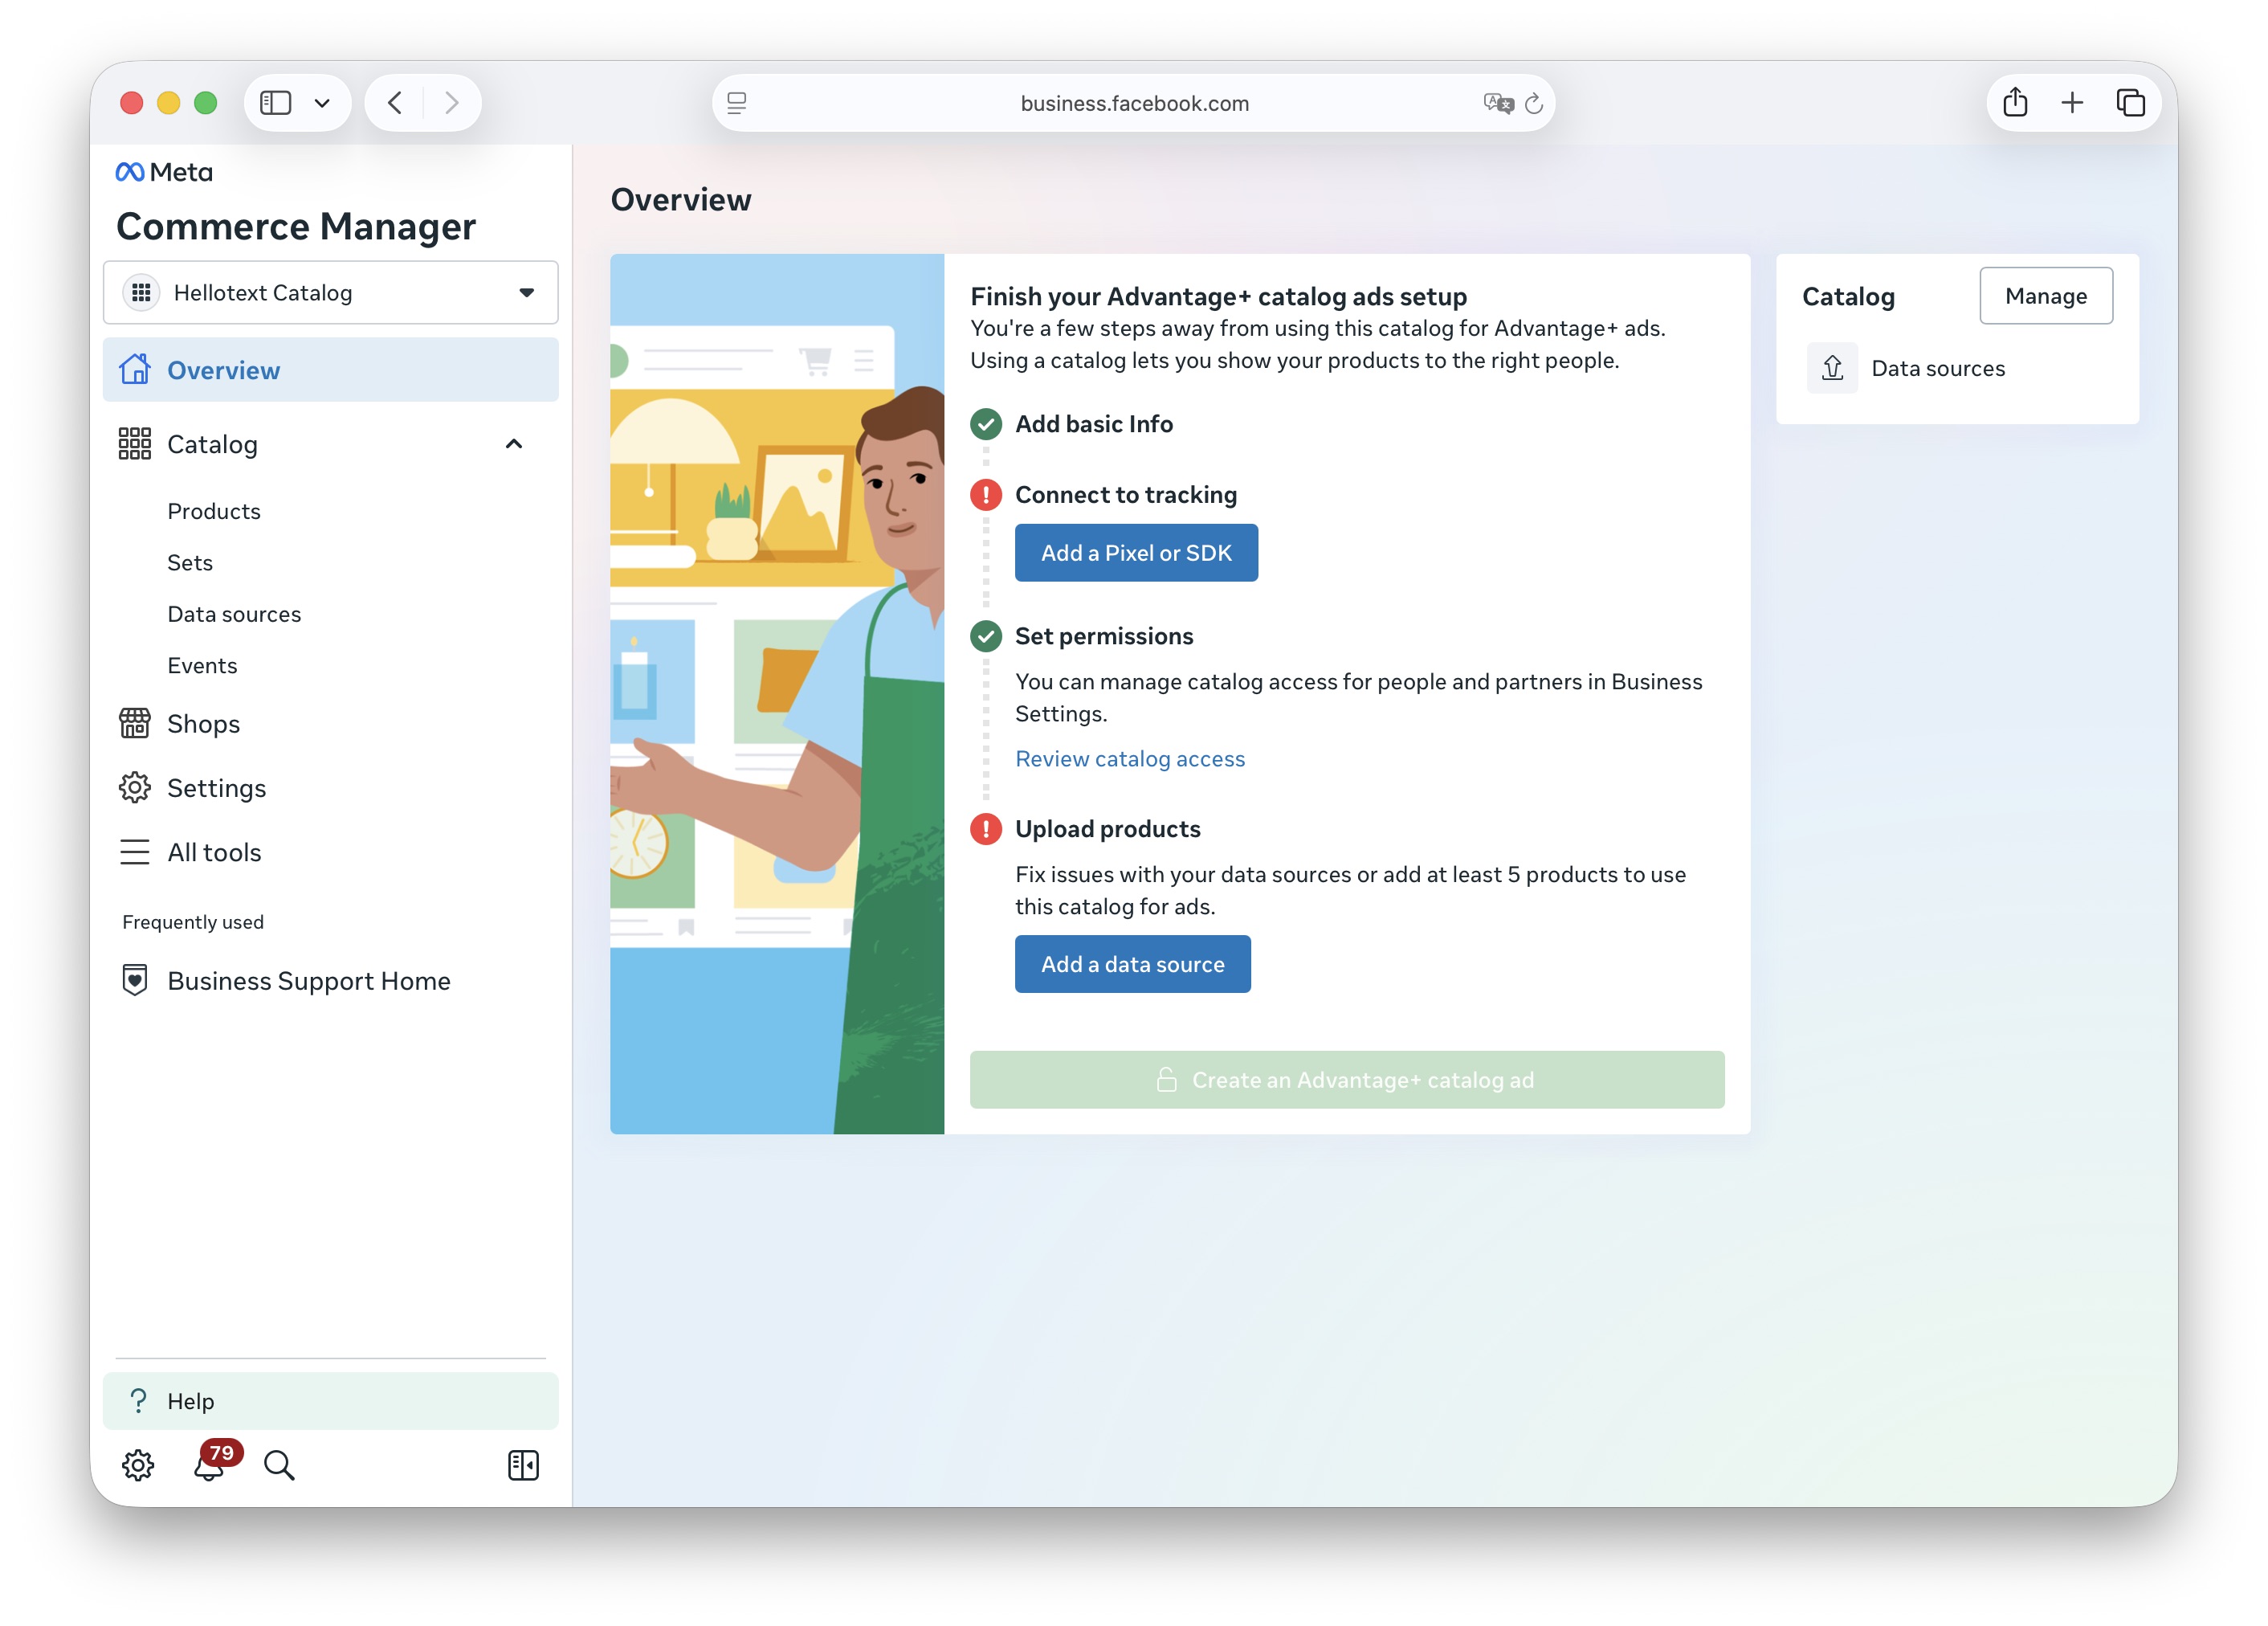
On the next screen, Meta will ask you to connect an event source (Pixel or SDK). This step is not required for Hellotext, so click Skip.
![]()
Meta will then ask how you want to upload products to the catalog (data feed or manual upload). This is also not necessary, since Hellotext will sync your products automatically. Click Skip again.

Once you skip those steps, your catalog will be created and you’ll be ready to continue with the WhatsApp connection process.
This will be the catalog you’ll link during the WhatsApp connection flow.
Step 2: Connect WhatsApp and link the catalog
Now that your catalog is ready, it’s time to connect your WhatsApp Business number to Hellotext and associate it with the catalog.
-
Start the regular connection flow.
-
When asked if you want to connect a WhatsApp catalog, select Yes. If you already created the catalog following this guide, click “I’ve already created the Hellotext catalog in Meta” to continue.
-
Begin the flow inside Meta’s Embedded Signup. At some point, Meta will ask if you want to import a catalog. Select Yes.
-
You will see a list of available catalogs in your Business Manager. Choose Hellotext Catalog, the one you created in the previous step.
-
Complete the Embedded Signup process until the end.
After finishing, Hellotext will begin syncing your products automatically. From that moment on, you’ll be able to use them in playbooks, campaigns, Inbox conversations, AI agents, and product recommendations such as Smart Recommender.
What to expect next?
Once the catalog is connected:
- Your customers will be able to view products and add them to the cart directly inside WhatsApp.
- They’ll be able to pay without leaving the chat.
- The checkout used will be your store’s checkout, and every purchase will generate a real order in Shopify, VTEX, WooCommerce, or whichever platform you have connected.
- You’ll be able to leverage the catalog across all Hellotext features that support it: playbooks, campaigns, AI agents, automatic recommendations, and more.