
Website Popup lets you collect phone numbers, email addresses, and other customer profile information without sending visitors away from your website.

It is a capture playbook, not an agentic playbook or a journey. The popup collects or updates a customer profile. You can assign an active welcome or follow-up journey and, optionally, a coupon. Saving contact information alone does not complete a verified subscription.
Website Popup is being rolled out progressively. If it appears as On request, is disabled, or does not appear in the Capture group under Explore playbooks, confirm availability with your Hellotext team before planning a launch.
When to use Website Popup
Use Website Popup when you want to:
- Collect visitor details and, with the appropriate journey and verification, turn them into subscribers.
- Collect a phone number, email address, or other customer profile properties.
- Present an offer without sending the visitor to another page.
- Use more than one step to keep the first interaction short.
- Adapt the experience for mobile and desktop.
- Start a welcome journey after a visitor subscribes.
Use a Website Form when the form should live inside the page instead of opening above it. Use a Shareable Link when the opt-in starts outside your website, such as from social media, an ad, or an email.
Before you start
Decide what information you truly need at signup. A phone number or email address is usually enough for the first step. Additional fields can use existing customer profile properties, including custom properties created by your business.
Also confirm:
- Which channel the visitor is subscribing to.
- What value or offer the popup communicates.
- Whether a coupon should be delivered after signup.
- Whether a journey should start after the capture is completed.
- Who can install Hellotext on the website if manual installation is required.
- That the consent notice accurately describes the messages the visitor agrees to receive.
For channel eligibility and consent, see Who you can message.
Create the popup
- Open Playbooks and click Explore playbooks.
- Find the Capture group and choose Website Popup.
- Give the popup a name that identifies its placement or purpose.
- Build the signup steps and the Completed state.
- Review Style, Layout, and Settings.
- Click Save & Continue to save the draft and open optional coupon and journey assignment.
- Review the installation method before confirming popup activation.
The mobile and desktop icons switch the editor view. Preview opens a separate view where you can review the experience without publishing the popup. Check both views while you work rather than treating the desktop preview as the final version for every visitor.
Build the signup steps
A popup can use multiple steps. This lets you ask for one important detail first and request more information only after the visitor continues.
For each step, you can:
- Edit the heading, supporting text, button, links, and consent notice.
- Add fields based on standard or custom customer profile properties.
- Change the placeholder for fields that support it.
- Mark fields as required when the flow cannot continue without them.
- Add, remove, rename, and reorder steps.
- Preview how the step looks on mobile and desktop.

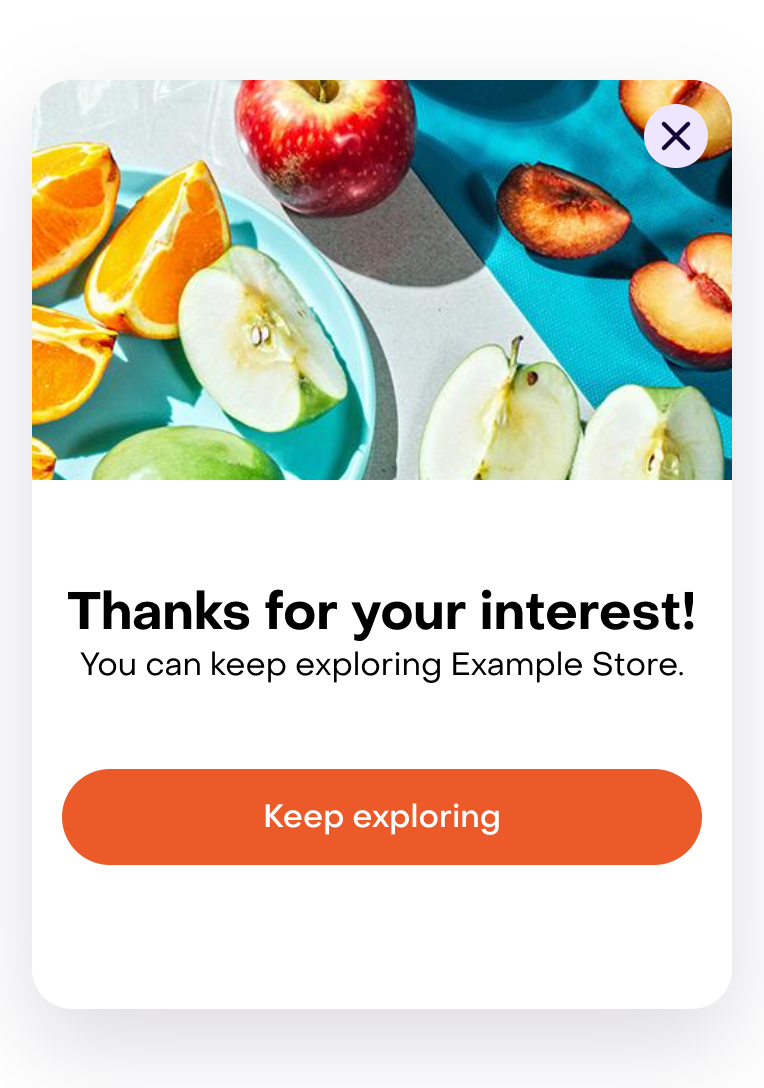
Use the Completed state to explain what follows the form. Its preview is a design simulation; it does not confirm a real subscription, verification, or delivery. Keep this message useful even when no coupon is assigned.
Do not ask for every available property just because it exists. Each additional field adds work for the visitor and can reduce completion. To publish, include and require at least one email or phone field. Collect the minimum needed for the first useful follow-up, then enrich the profile later through conversations, purchases, forms, or other signals.
Write clear popup copy
The visitor should understand the value, requested information, and next action before entering any data.
- Lead with the concrete benefit or reason to subscribe.
- Use supporting text to explain what the visitor will receive, not to repeat the heading.
- Make the button describe the action, such as Get my discount or Notify me, instead of using a vague label.
- Keep the first step short enough to scan on a phone.
- Keep the consent notice readable and separate from the promotional promise.
- Make the completed state explain whether to check WhatsApp, SMS, or email, continue shopping, or wait for a follow-up.
- Do not create false urgency or promise a coupon, delivery channel, or response time that the configured flow cannot provide.
Read every step as one sequence. A strong first step can still feel confusing if the second step changes the offer, asks for unexpected information, or uses a different call to action.
Configure style, layout, and opening behavior
The editor separates the popup configuration into three areas:
| Area | What it controls |
|---|---|
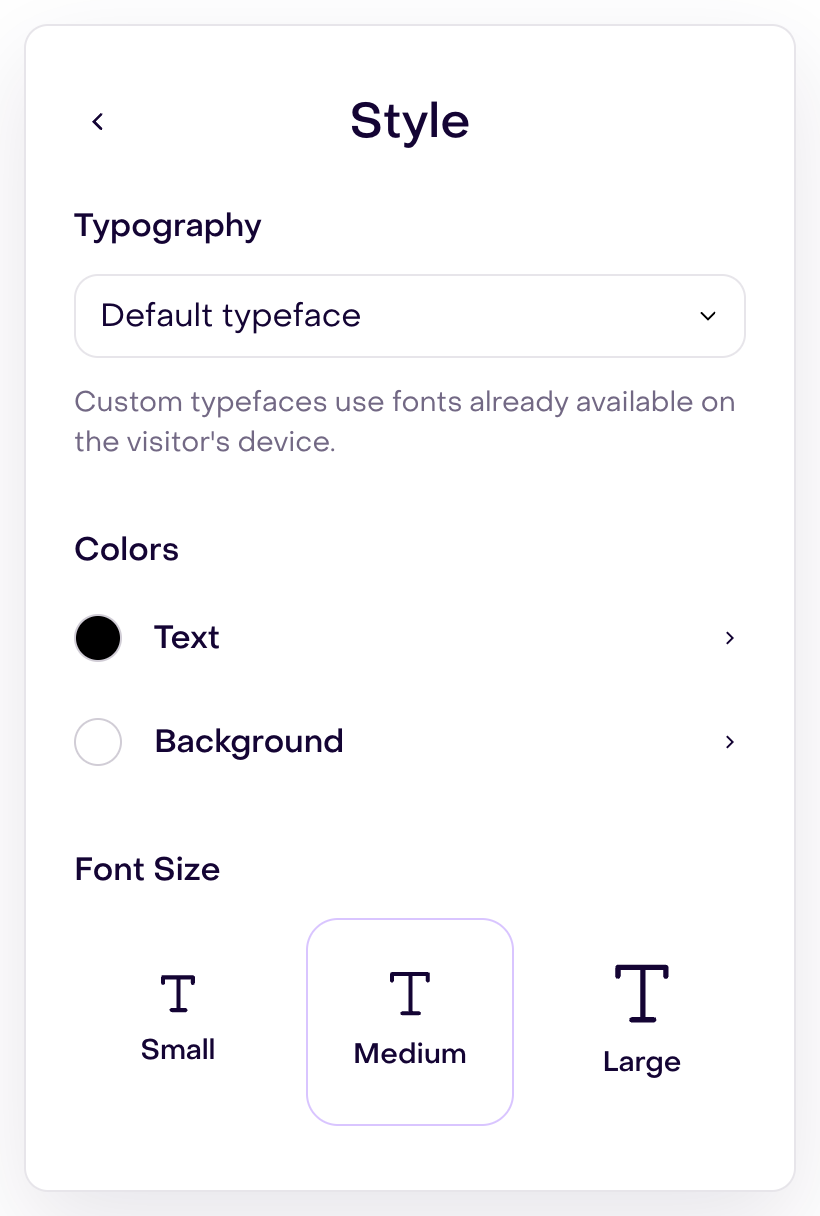
| Style | Typography, text and background colors, and font size. Button and header controls are also edited from those elements in the preview. |
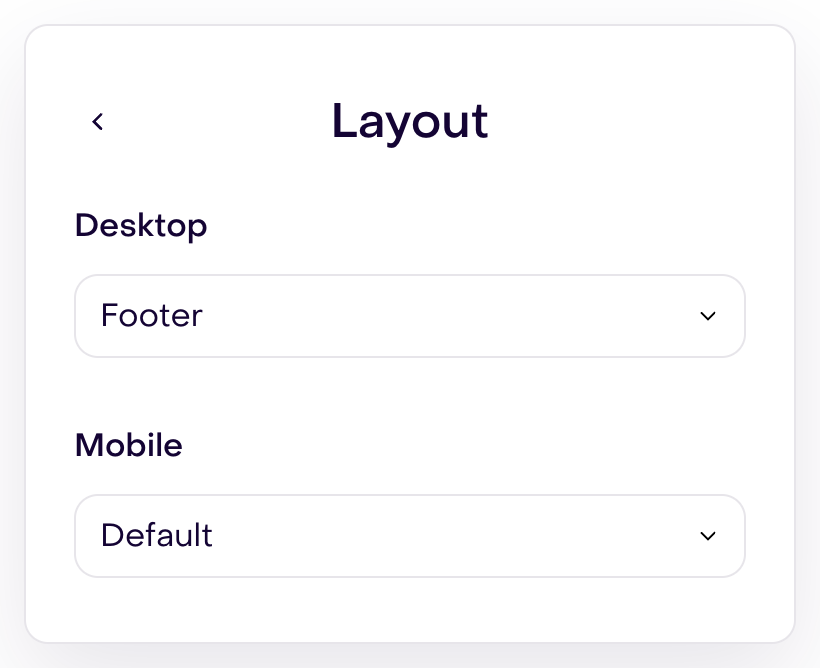
| Layout | The arrangement used on desktop and mobile. Each device can use the layout that best fits its screen. |
| Settings | Whether the popup opens automatically or first appears as a bubble, and whether it displays on mobile, desktop, or both. |
Open Style to review typography, colors, and size. These controls share the popup typography and colors.
Open Layout to compare the available arrangements. Choose a separate layout for each device and review it with the mobile and desktop icons.
When the popup uses a bubble, visitors see a small floating prompt and open the full popup by selecting it. Configure the bubble text, text color, background color, and alignment so it is noticeable without covering important website controls.
The Settings panel shows device targeting and Don’t show bubble / Display a bubble options. This version does not expose a delay selector there; do not assume you can schedule a delay from that panel.
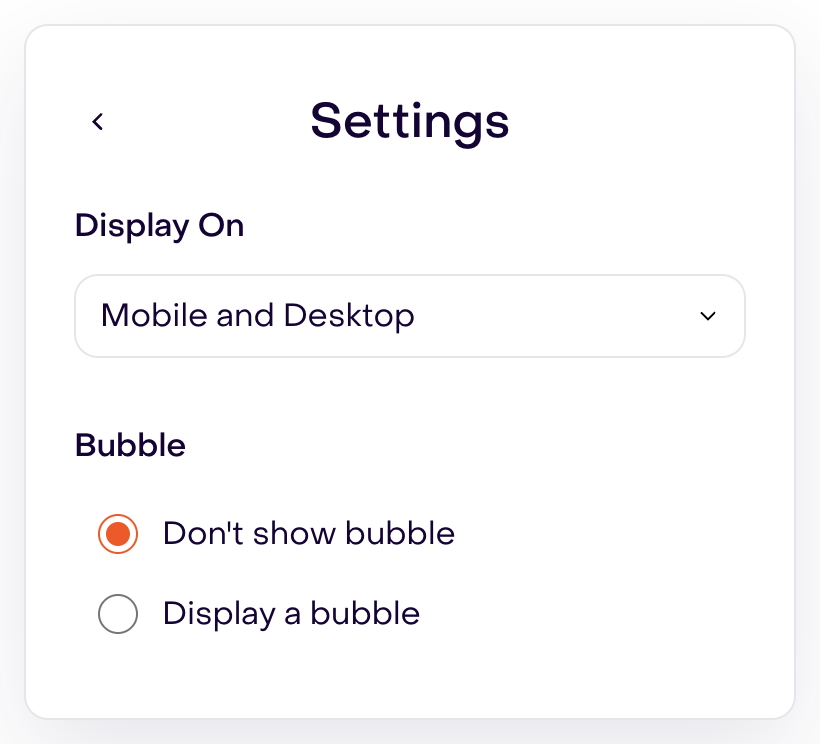
The reviewed editor does not offer page-path, scroll-depth, location, or previous-view conditions. Confirm any additional targeting requirement with Hellotext before planning a launch.
Choose the right image size
The header image is the largest visual in the popup, so prepare it for the layout you picked. Upload each image at twice the size it is displayed, so it stays sharp on high-density screens. Use JPG or PNG files of up to 10 MB.
The sizes below are for the default settings: a 200 px high image on top and a side image that takes 40% of the width. If you change the image height or width in the editor, upload at twice the size it ends up displayed.
| Where it appears | Displayed at | Upload at (2×) |
|---|---|---|
| Desktop, image on top | 768 × 200 px | 1536 × 400 px |
| Desktop, image on the side | About 307 × 450 px | 620 × 900 px |
| Mobile (all layouts) | 350 × 200 px | 700 × 400 px |
- Minimum height: on desktop the popup is never shorter than 450 px, so an image on the side should cover at least that height. If your popup is taller because of its content, the side image grows with it: check the height in the preview and upload at twice that height.
- Mobile always uses the top image, whichever layout you picked for desktop.
- Cover or Fit: Cover fills the space and crops the edges when the proportions differ. Fit shows the whole image and leaves bands of the background color.
- Keep what matters near the center, such as a logo or the product. Avoid putting important text inside the image, because it shrinks on phones.
Check the preview on desktop and mobile before publishing.
Assign a coupon and journey
Coupon and journey assignment are optional.
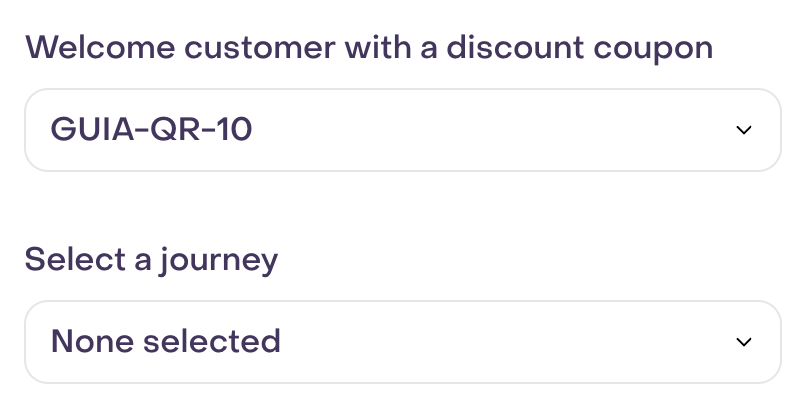
Select an active journey with a subscription trigger to start the welcome flow. The form records the captured data; subscription and journey entry wait for verification of the required contact details. A disabled journey does not appear as a compatible option.
If you also offer a coupon, check that the journey includes the message that delivers it. Assignment shows a warning when a journey is missing or its message does not contain a coupon. Read the warning before continuing: selecting a coupon does not show that it has been sent.
Delivery needs an available channel for the submitted details. Phone delivery can use WhatsApp when its configuration and template are compatible, with SMS as an alternative; email uses email delivery. Do not describe this as an automatic choice of the cheapest channel.
The completed state may show a destination and allow visitors to change it or resend after a wait, depending on configuration. Check that flow in your installation; preview actions do not send real messages.
If you do not need follow-up, you can leave both selections empty. The example shows the controls and a fictional coupon without saving the assignment; it does not show a sent message or active journey. A capture without a journey must not be presented as a completed subscription.
Install the popup
The installation step offers the methods available for the connected website:
- Automatic installation: use this when a connected Shopify store or compatible VTEX or Fenicio integration appears. Unavailable options are disabled.
- Manual installation: install Hellotext.js, then add the initialization code generated for this popup to the website.

Use the generated code exactly as shown because it includes the identifiers for your business and popup. If a developer or agency manages the website, send them the complete manual installation instructions from this step.

Continue with an automatic method confirms popup publication. With the manual method, Continue opens instructions; the final Close confirmation publishes the popup and records its installation. Review the design and prepare a controlled test before confirming either action. A correct preview does not show that Hellotext.js is installed or that submissions work on the website.
Test before publishing
First review the steps and devices with Preview. After a controlled activation, validate the website experience with authorized test details, remembering that a real submission can create verification deliveries, messages, and journey entries.
Confirm that:
- The popup opens through the configured automatic trigger or bubble.
- It appears on the intended mobile and desktop devices.
- It does not cover navigation, checkout, consent controls, or other essential website actions.
- Every step fits the screen without clipped text or controls.
- Required fields stop incomplete submissions and explain what needs attention.
- Phone numbers, email addresses, and other properties reach the correct customer profile.
- The consent notice matches the channel and message type.
- The completed state explains the next action clearly.
- The assigned coupon reaches the expected destination when coupon delivery is enabled.
- The assigned journey starts once and does not overlap with another welcome flow.
- Closing, reopening, and using the bubble behave as expected.
Repeat the test in a private browser window and on a real phone. This catches installation, session, and responsive-layout problems that the editor preview cannot show.
If the popup does not appear
Check these items in order:
- Confirm that the popup was saved, installed, and published.
- Confirm that Hellotext.js and the popup initialization code load on the page.
- Check whether the popup is limited to mobile or desktop.
- Check whether it opens automatically, or only through a bubble.
- Test in a private browser window to avoid a previous session affecting the result.
- Confirm that the popup belongs to the website and device being tested.
- Reopen the installation step and compare the generated code with the code running on the website.
When reporting a problem, include the popup name, tested URL, device, approximate time, opening behavior, and whether the popup failed to appear or failed after submission.