
Forms allow you to create dynamic forms based on built-in customer profile attributes such as first name and last name, or custom properties you have created for your audience.
Creating a Form
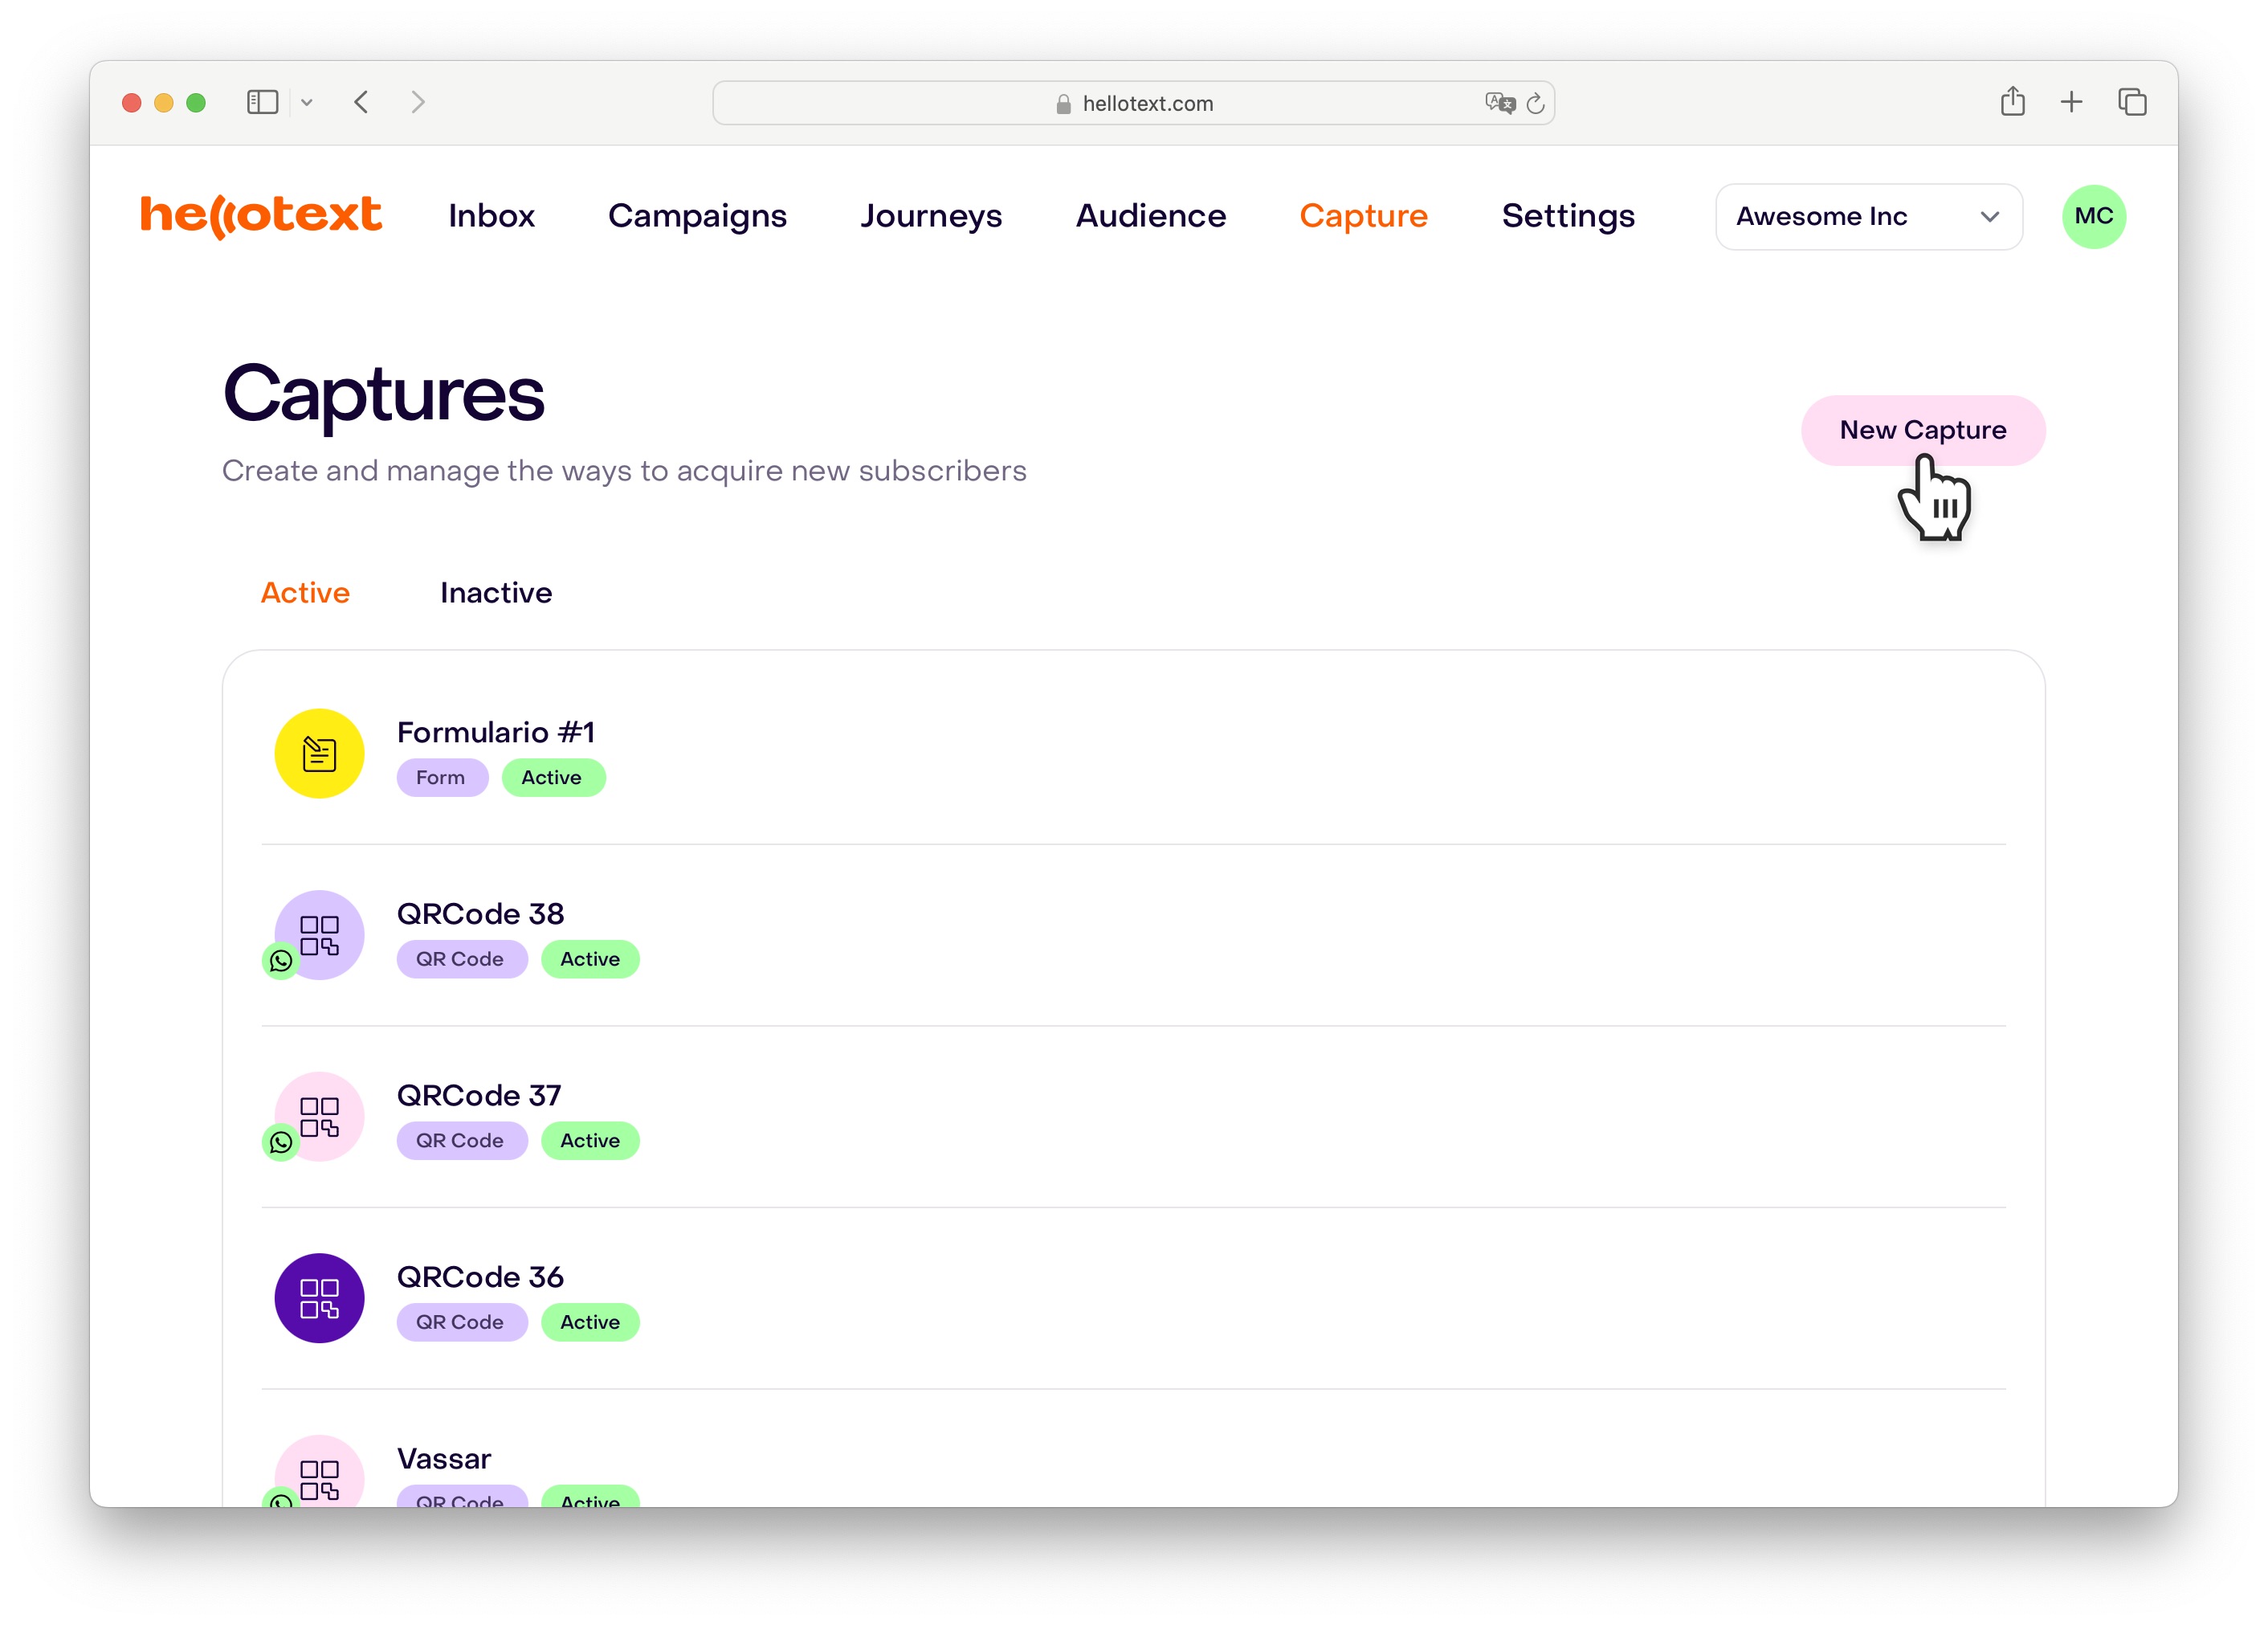
To create a new Form, visit the Captures section on the dashboard, and click on New Capture.
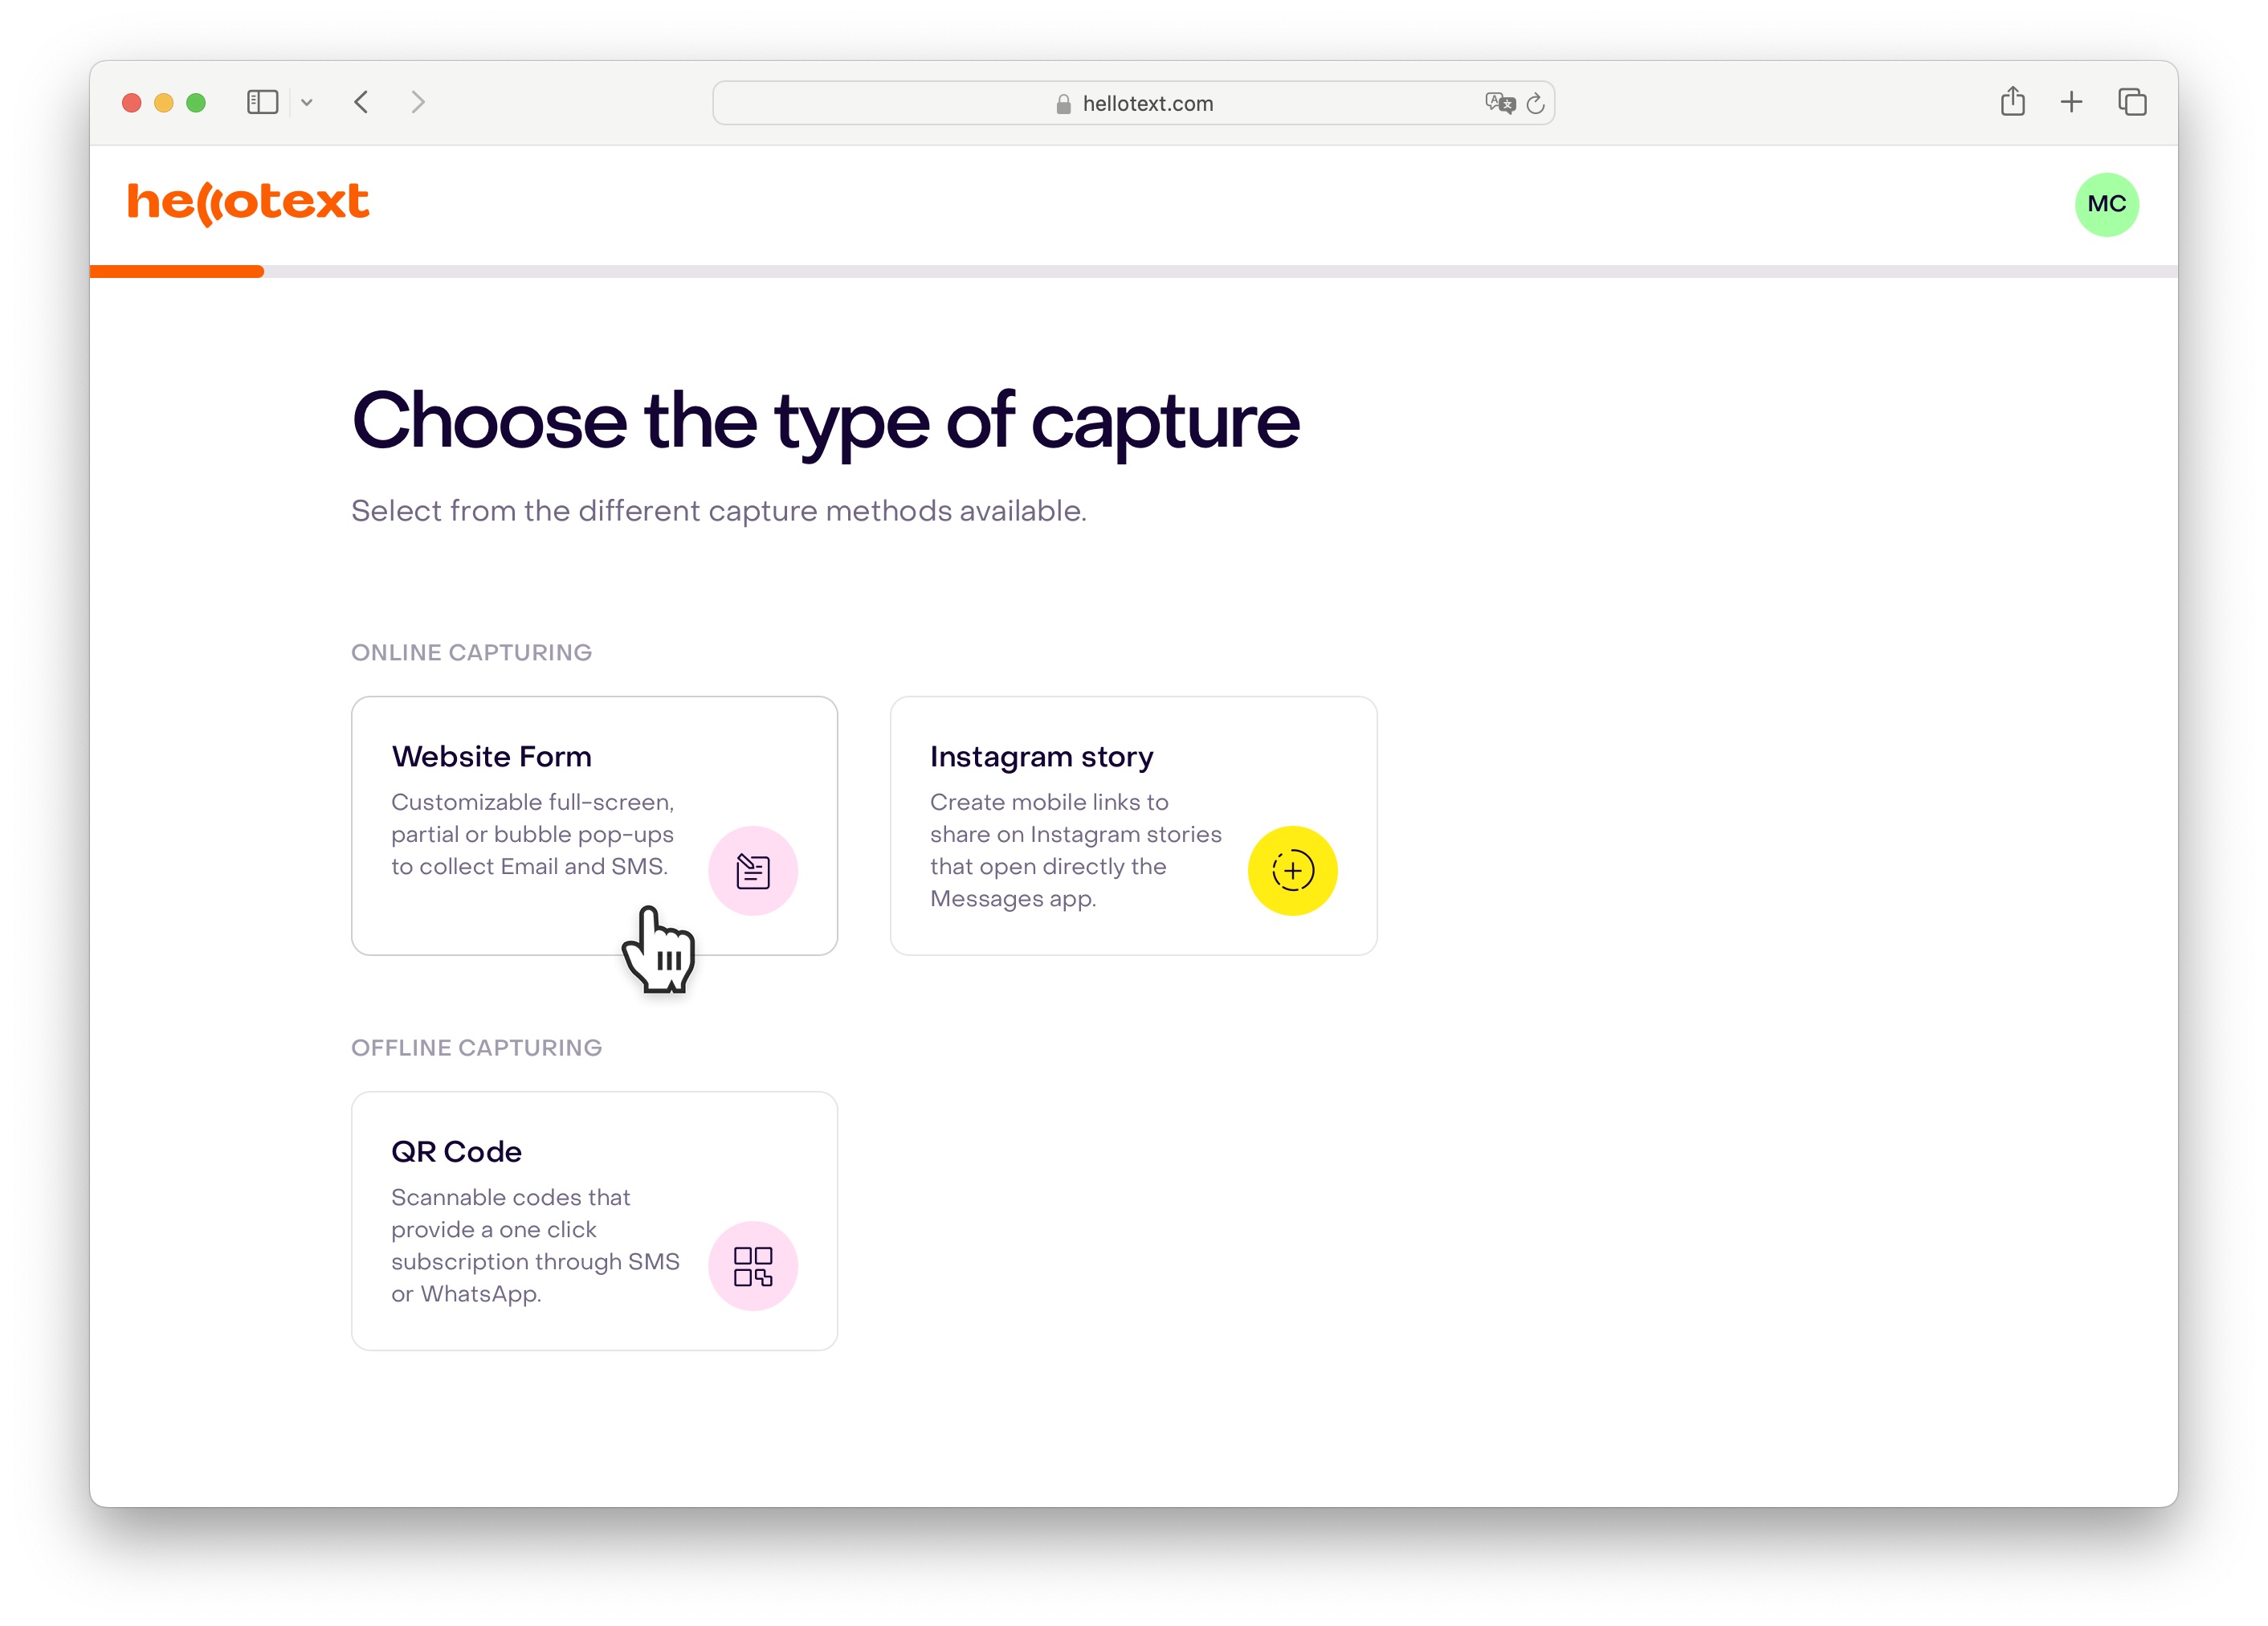
From available options to choose from, select Website Form and you will be taken to the Form Editor.
Understanding Components
Hero
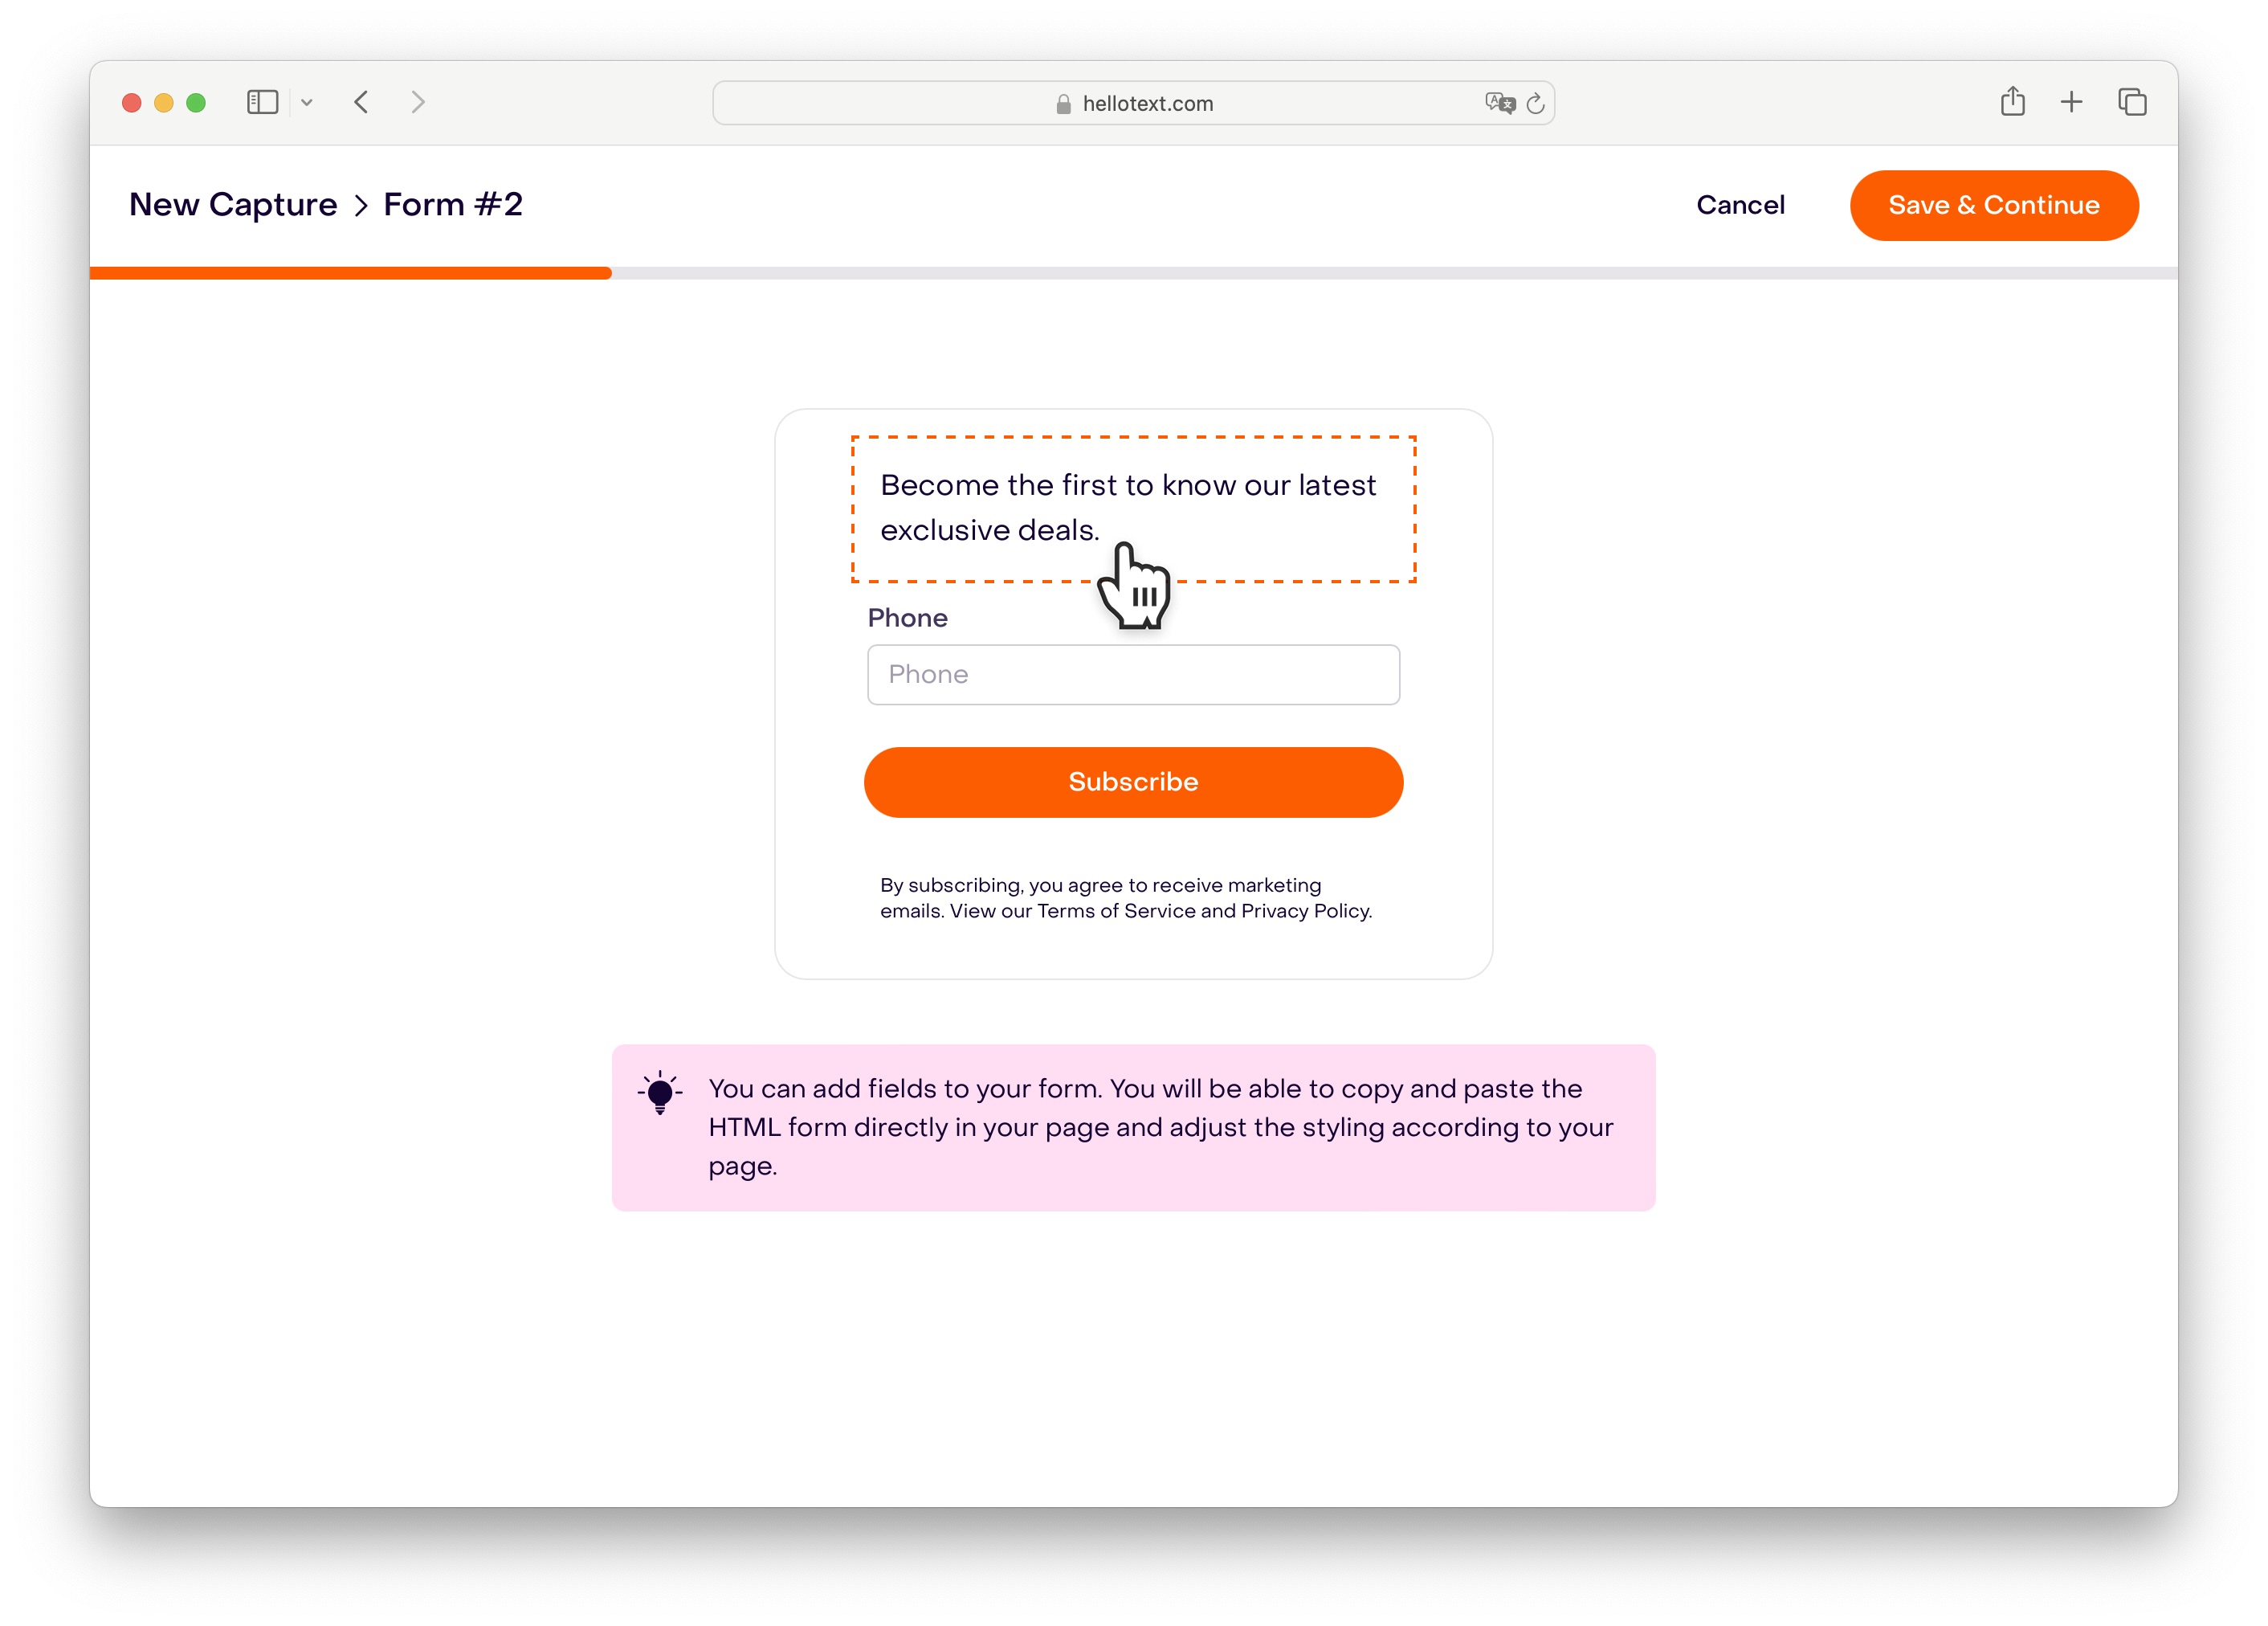
The Hero is the header of the form. It is the first thing that visitors see when the form is loaded. Hellotext, when loading the form, looks for an HTML element with the data-form-hero attribute and loads the content inside it. If the element is not found, Hellotext creates the header manually, and prepends it to the form, making sure that it is the first component in the element.
Inputs

The Inputs are the fields that visitors need to fill. You can specify which fields are required and which ones are not in the Form editor. In the form editor, you can add any field based on an existing property, and control whether the field is required or not. For each Input, Hellotext generates an HTML element that looks like this
<article>
  <label for=":id"></label>
  <input type=":type" id=":id" name=":name" placeholder=":placeholder" required>
  <div data-error-container></div>
</article>
Like the Hero, Hellotext looks for an HTML element within the form with data-form-inputs identifier and loads the inputs inside it. The data-error-container element is used and displayed only when the visitor tries to submit the form and has not filled the required fields.
Button

The Button is where the form’s submission happens. Hellotext looks for a button element with the data-form-button attribute and loads the button inside it. If the element is not found, Hellotext creates the button manually, and appends it to the form after the Inputs section.
Notice
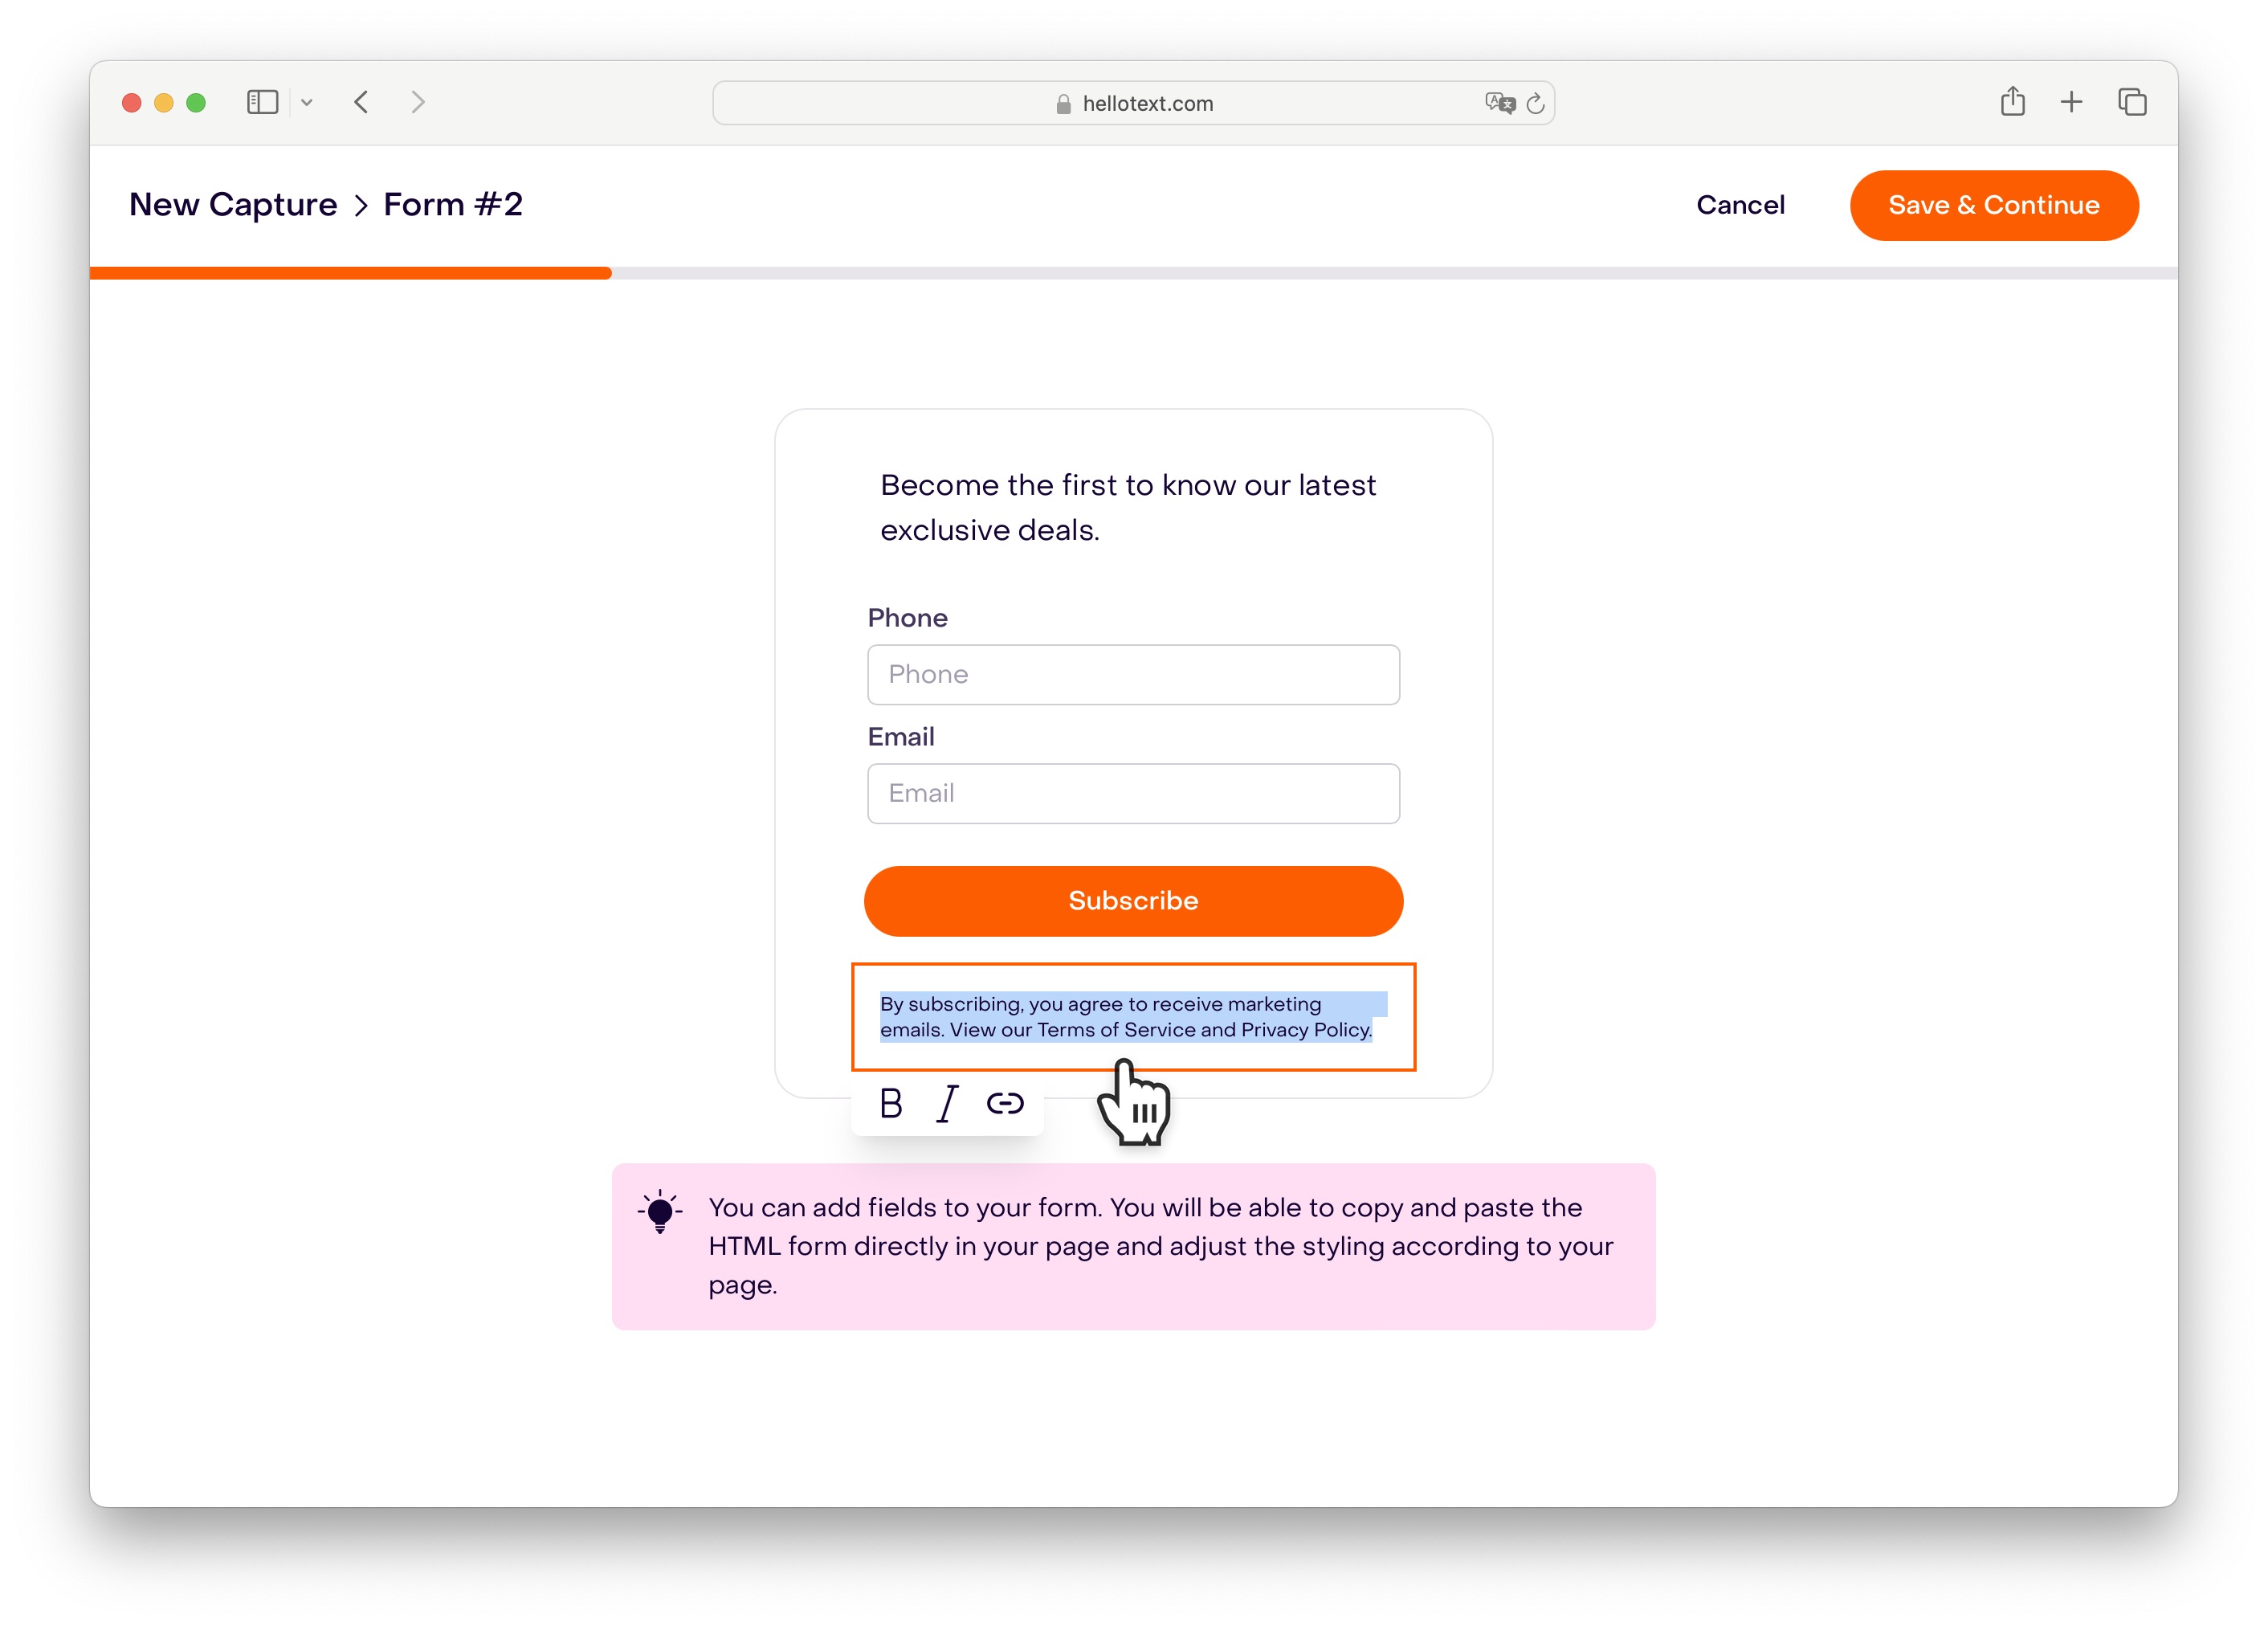
The Notice is the footer of the form. It is the last thing that visitors will see when the form is shown. Hellotext looks for an HTML element with the data-form-notice attribute and loads the content inside it. If the element is not found, Hellotext creates the footer manually, and appends it to the form after the Button section.
Security
Hellotext prevents identity theft and impersonation of other people. Additionally, Hellotext ensures that any existing data you have is not tampered with unreliable data. How?
When you create a form that has a Phone or Email property, Hellotext sends a verification link to the email and/or phone number entered by the person who filled the form.
- If they have filled in an email, an email is sent to that specific email address. Once clicked, the email is verified.
- If they have filled in a phone number, an SMS is sent to that specific phone number. Once clicked, the phone number is verified.
Once all verifiable data has been verified, the data is considered to be verified.
Once verification of a submission is complete, Hellotext performs an automatic merge (if needed) of all profiles that have the same email and/or phone number. After automatic merging, if a property has multiple values, it will be visible in the Audience page and you can see the values that were merged and decide which one to ignore and which one to accept.
Understanding the generated code
After you create your form, Hellotext will give you a code snippet that you can optionally embed on your website that looks like the following.
<form data-hello-form=":id">
  <header data-form-hero>
  </header>

  <main data-form-inputs>
  </main>

  <button data-form-button>
  </button>

  <footer data-form-notice>
  </footer>
</form>
Make sure to install Hellotext.js to dynamically populate the form.
Customizing the Form’s layout
Hellotext defines a fixed layout for forms. But you can override this layout if you want, to change where Hellotext loads the form’s components, you can add the boilerplate components that Hellotext will populate instead of creating. For example, if you want to show the Button component after the Notice component, you can define the data-form-notice and data-form-button as empty elements, Hellotext would simply load the contents inside the respective elements without creating the default layout
<form data-hello-form=":id">
  <footer data-form-notice>
  </footer>

  <button data-form-button>
  </button>
</form>
Customizing the Form’s style
Hellotext ships Forms with a boilerplate HTML layout so that you can style them according to your preference and brand guidelines. Hellotext forms have bare minimum styling to ensure that they look good on any website. No colors, no borders, no padding, just the form elements with specific layouts.
Hellotext Attribution
The Hellotext logo is displayed at the bottom-right of the form so visitors know that the form is powered by Hellotext and that their data is secure and protected. This is part of our White Label policy, it is required that this logo be displayed and kept visible on the form. Unless the package you subscribe to has the White Label feature enabled. Please refer to our Pricing for more information regarding available packages and the features.
JavaScript Events
Forms rely on Hellotext.js; it is required to install Hellotext.js to dynamically populate the form. The following events are dispatched by Hellotext.js
forms:collected- Dispatched when Hellotext collects all the forms. Collection means that Hellotext has contacted the API and fetched the form data. The event’s payload is the array of forms that were collected.form:completed- Dispatched when the visitor fills all required inputs in the form, and successfully completes the One Time Password code we send.